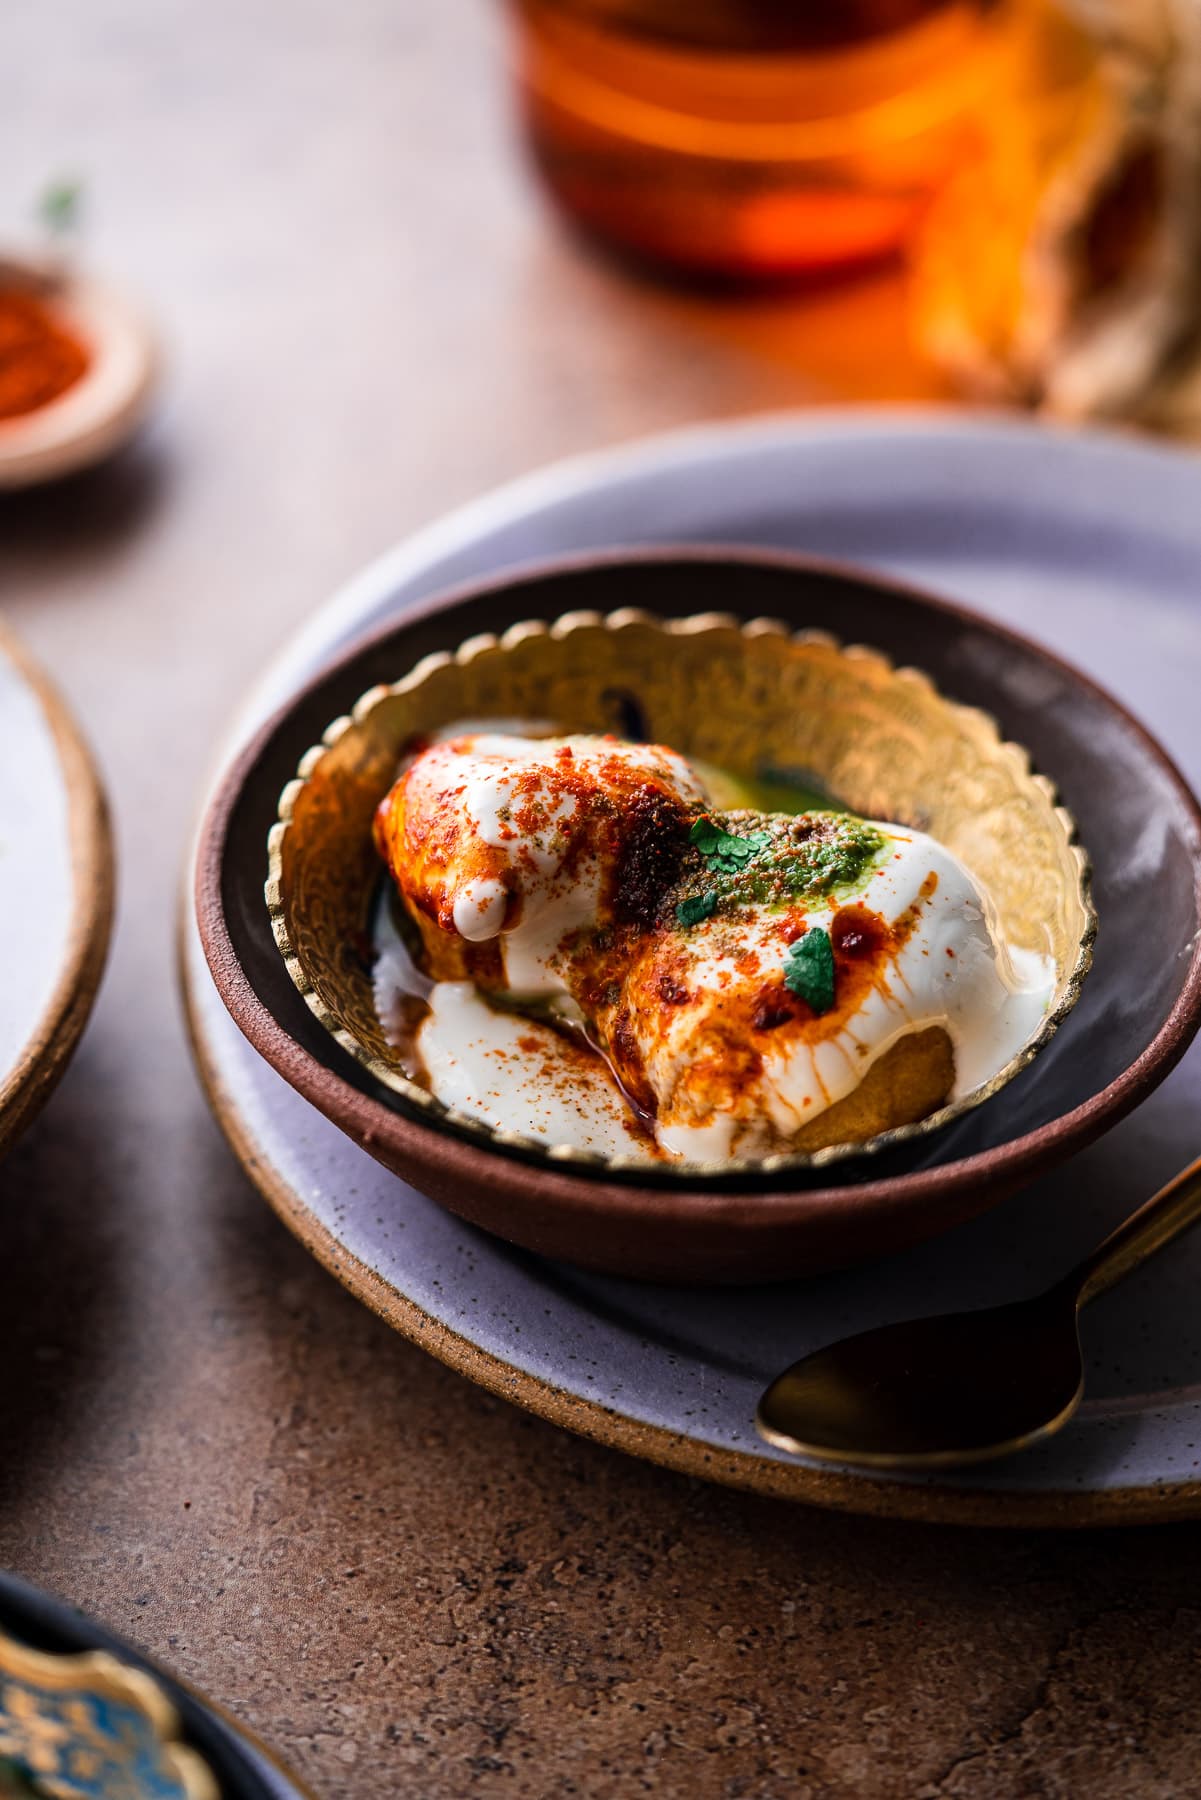
Dahi Vada, or Dahi Bhalla Chaat, is soft lentil fritters that are deep fried and served with dahi, chutneys, and spices to make chaat! It's a delicious appetizer or a side dish to accompany a meal at parties or Indian festivals.
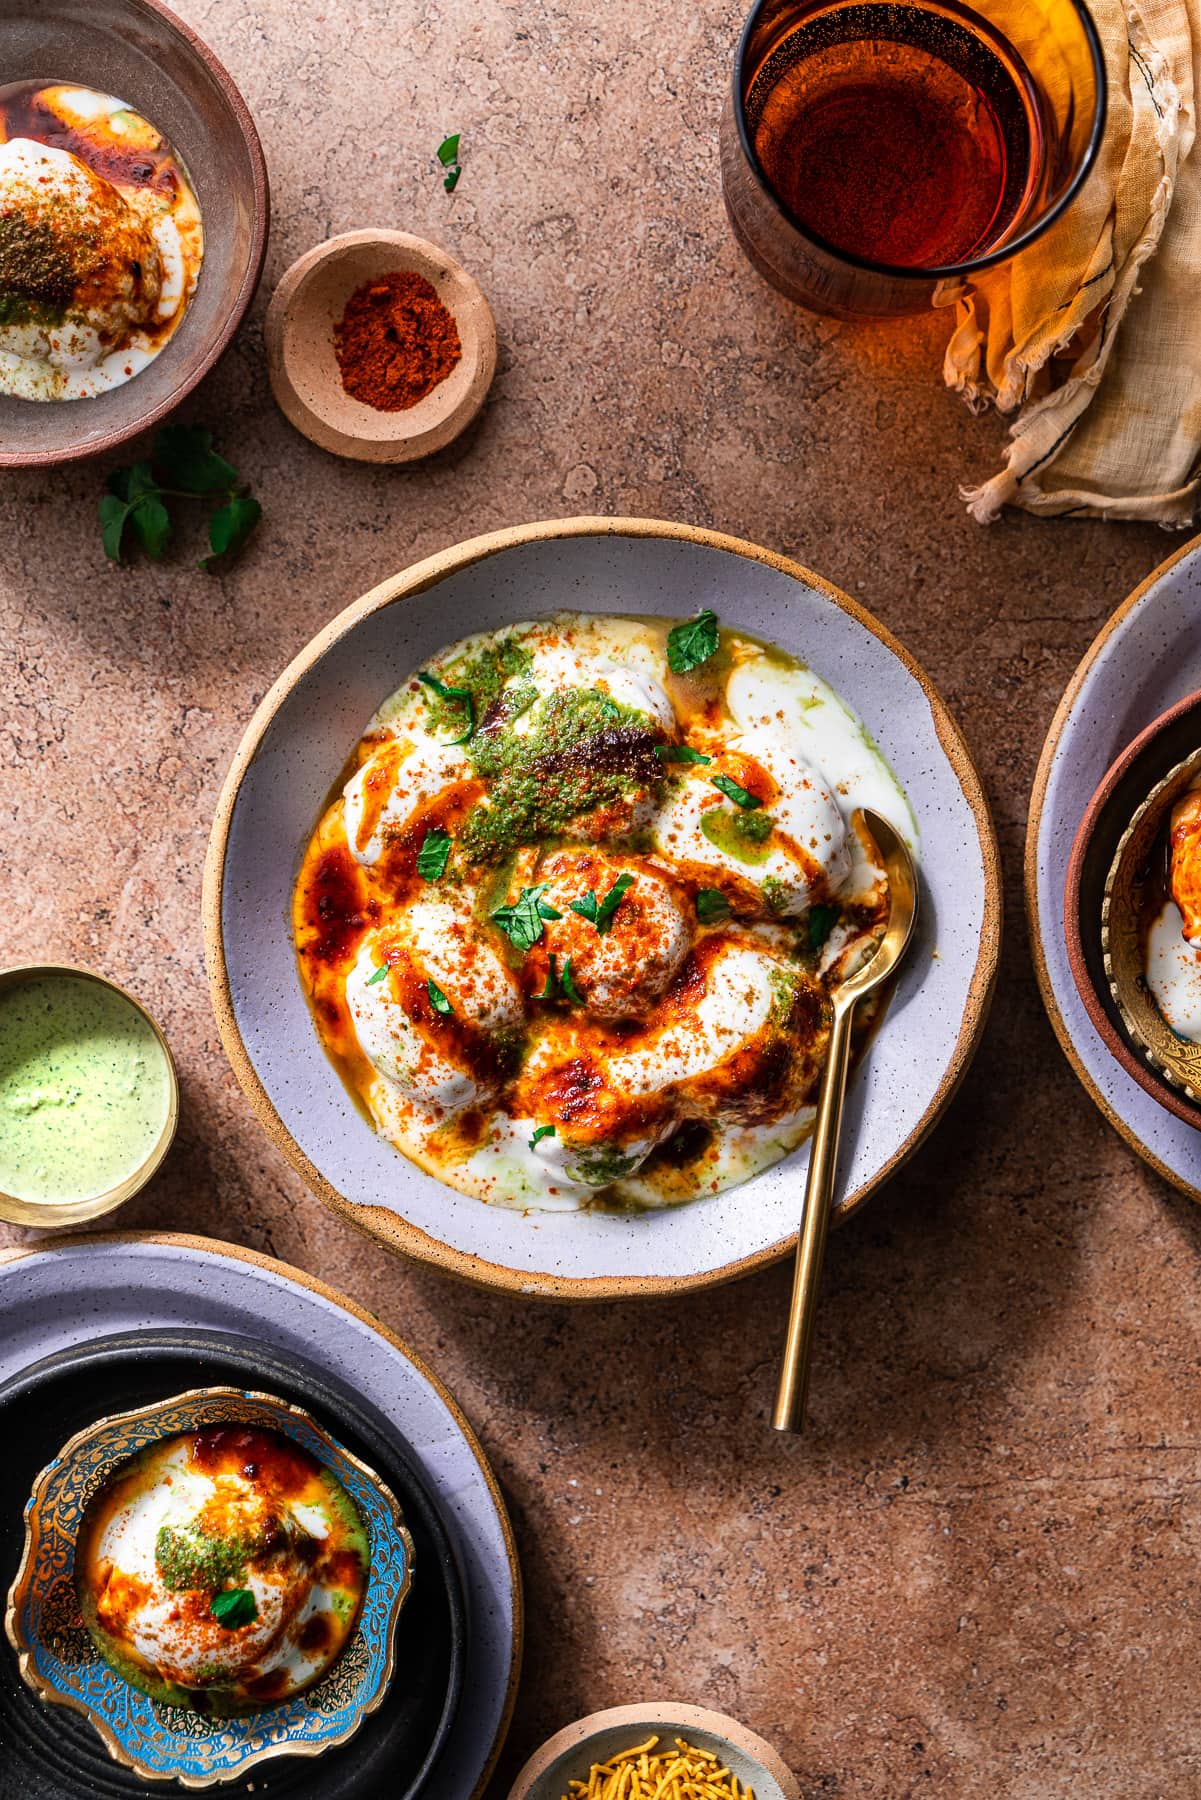
Yet another recipe passed down from Mama Garg! This is her recipe for Dahi Bhalla, a delicious dish made with fried lentil fritters that are soft and fluffy on the inside.
They're then served in a dahi-based chaat with chutneys and all the toppings! It's one of my favorite dishes that almost always makes an appearance at pot lucks with our family friends. You'll especially see Dahi Vada make an appearance during the Holi festival time, Ramadan, and Eid.
Admittedly, I've had Dahi Vada that's not... great. There are times when the vadas are hard and dense or bland. A lot of the flavor for this chaat comes from the chutneys, spices, and other toppings! Vadas are simply made of a mix of two dals - moong dal and urad dal - so they don't have a lot of taste by themselves.
However, the softest and fluffiest vadas should soak up just about any flavor!! This recipe has all the best tips and tricks to get the right texture with no surprises of undercooked vadas on the inside. No baking powder necessary. Any amateur cook will be able to tackle these fritters that are known for being finicky.
Jump to:
What is Dahi Vada?
Dahi Vada is a popular Indian snack made of fried lentil fritters that are soaked in water until soft. They're then covered in dahi and topped with cilantro-mint chutney, imli (tamarind) chutney, and other toppings like pomegranate arils, sev, and spices.
This chaat is served with a tablescape of other appetizers like Fruit Chaat and Samosa Chaat, or it can be served as a side dish in place of raita. It's especially popular for parties, or during festivals with other festival foods.
Depending on the region, they can be known as Dahi Bhalla, Dahi Bade, and Dahi Baray.
Ingredients - Notes and Substitutions
Making lentil fritters, or vadas, is incredibly accessible. All you need is two types of lentils - urad dal and moong dal. From there, you need a few ingredients to assemble the chaat.
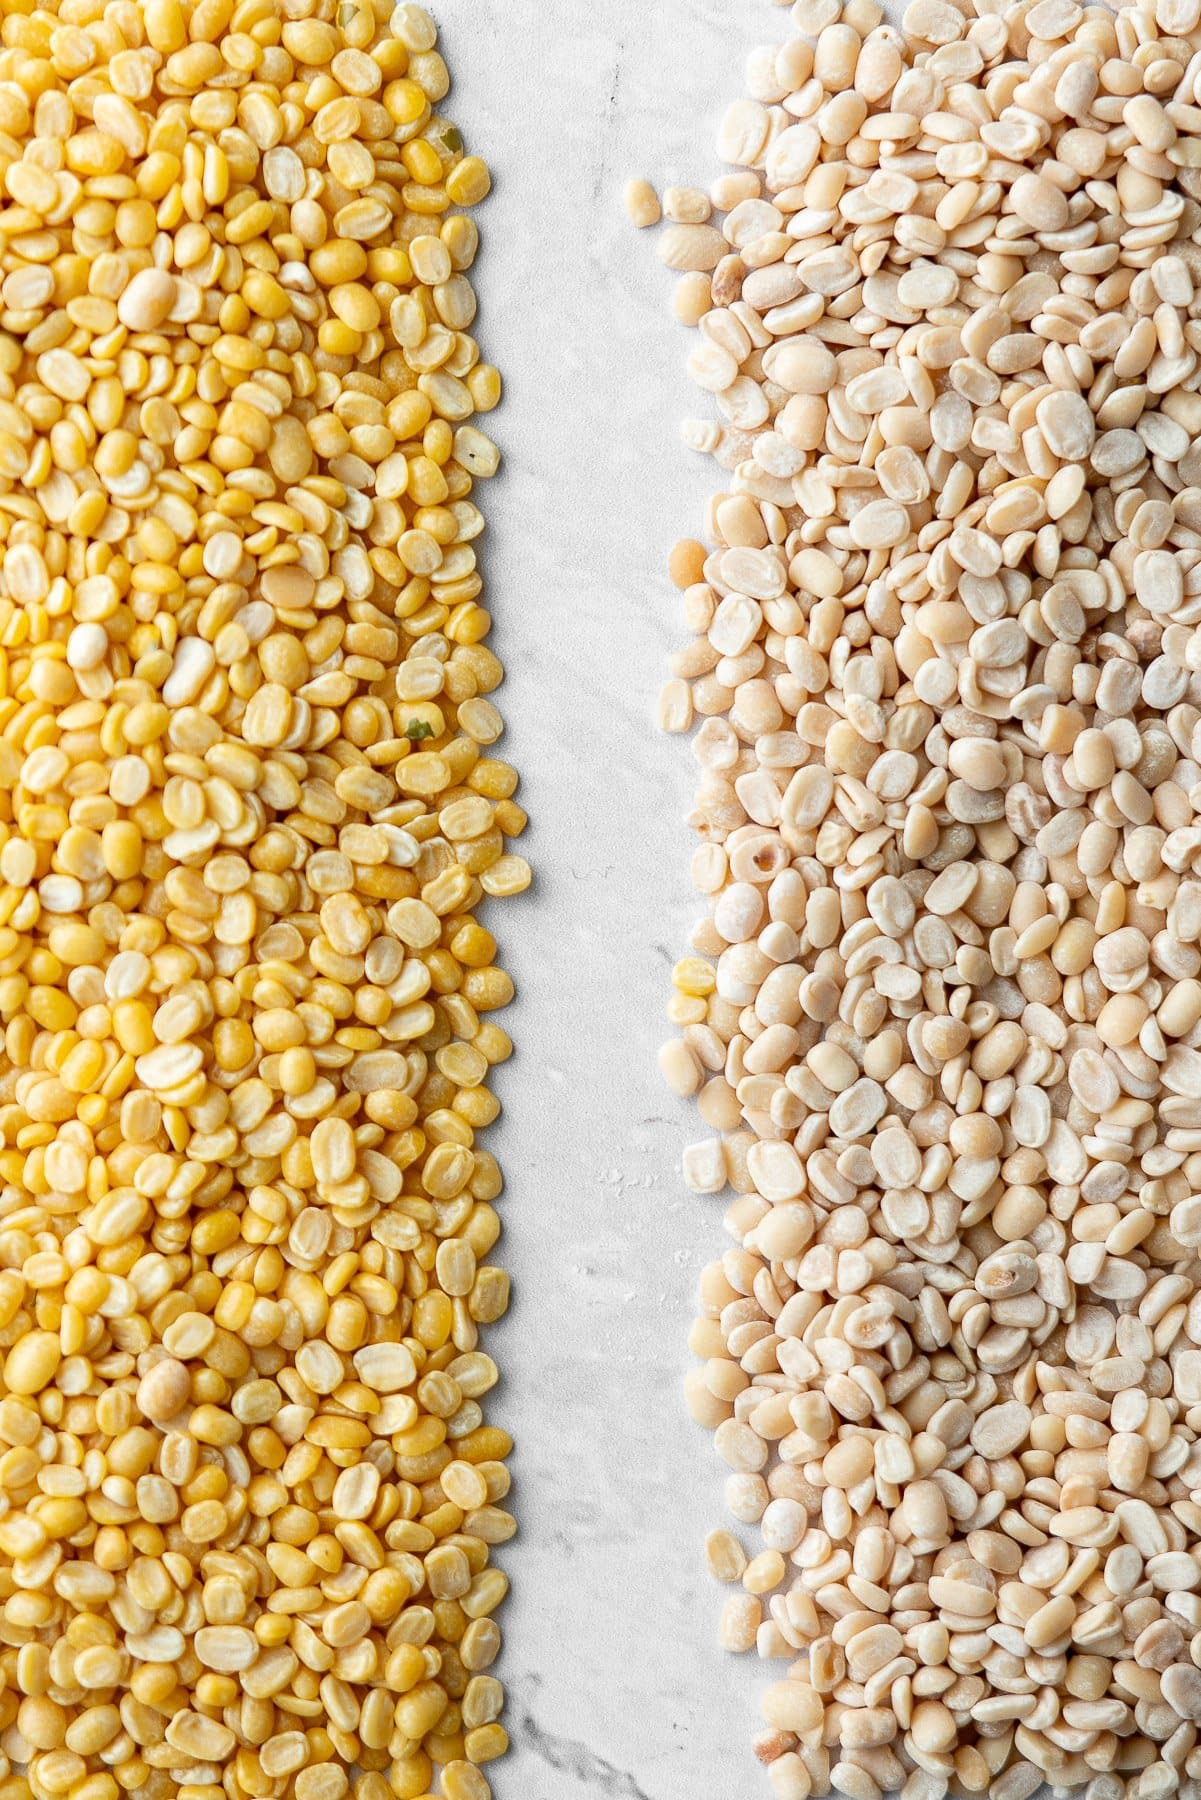
- Lentils - For the lentils, use a 2-to-1 ratio of urad dal (split matpe beans without husk) to moong dal (split moong beans without husk). Some people also do 50-50 or 4-to-1 ratio. It really depends on your preference. My mother also sometimes does a cup of urad dal, ¼ cup of moong dal, and a ¼ cup of black eyed peas for larger batches.
- Spices - Roasted cumin powder (or regular cumin powder), kashmiri chili powder, and chaat masala adds a bit of warmth, spice, and tang to the chaat.
- Dahi - Translated to curd, dahi is cultured milk that is boiled, frothed, and mixed with a starter to make an Indian-style yogurt in the Indian subcontinent. You can also use a bit of milk or water to thin out the dahi so it isn't as heavy.
- Chutneys - Cilantro-mint chutney and imli (tamarind) chutney are the "sauces". They're easy to make at home, or they are available in bottles at Indian grocers.
- Toppings - Pomegranates and fine sev adds a bit of crunch to the saucy chaat. Cilantro adds additional freshness and color.
Note: My mom always adds a little bit of grated ginger to the lentil batter, but it's optional to do so. Ginger aids in better digestion of lentils (John Hopkins Medicine).
How to make Soft Vadas
Let's make the softest vadas for our chaat!
1. Soak the Dal and Make the Batter
- Start by soaking the urad dal and moong dal. If you plan on making this in the morning or afternoon, soak the dal overnight. If you're making it for an evening snack or dinner time, soak them for around 4 hours in the early afternoon.
- Once soaked, rinse the lentils until the water runs clear to remove the starch.
Do not soak this for over 8 hours, otherwise they will start to ferment. You'll want to work with them as soon as you're ready, because the soaked lentils get STINKY.
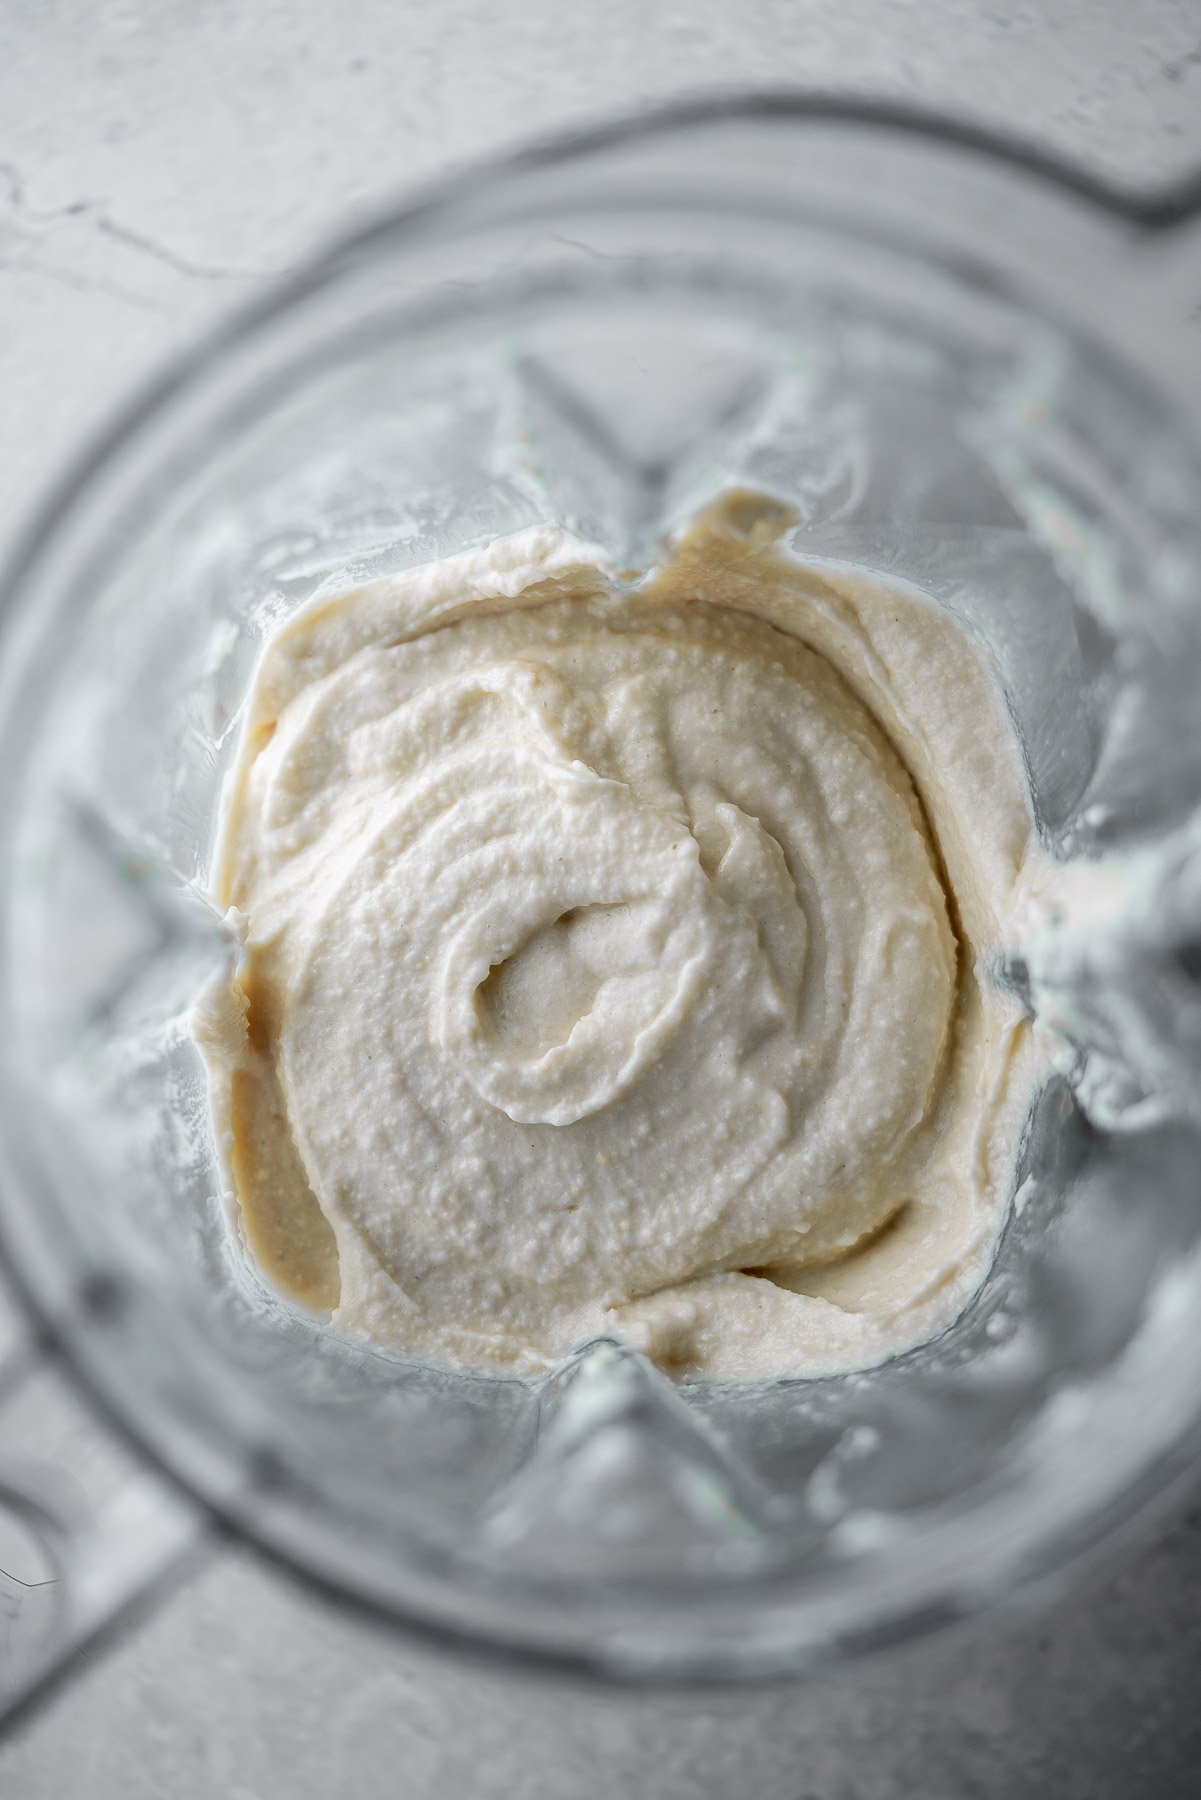
- If you're using a large volume blender, transfer both dals to the blender and start blending the dal on a low to medium speed. Add one tablespoon of water at a time until you get a smooth, thick batter.
Getting the right consistency for the batter can be the trickiest part. It comes down to having the right amount of water and aeration. Only add as much water as needed, you do not want the batter to be runny or thin. If you have a low volume blender, blend one dal at a time and transfer to a mixing bowl.
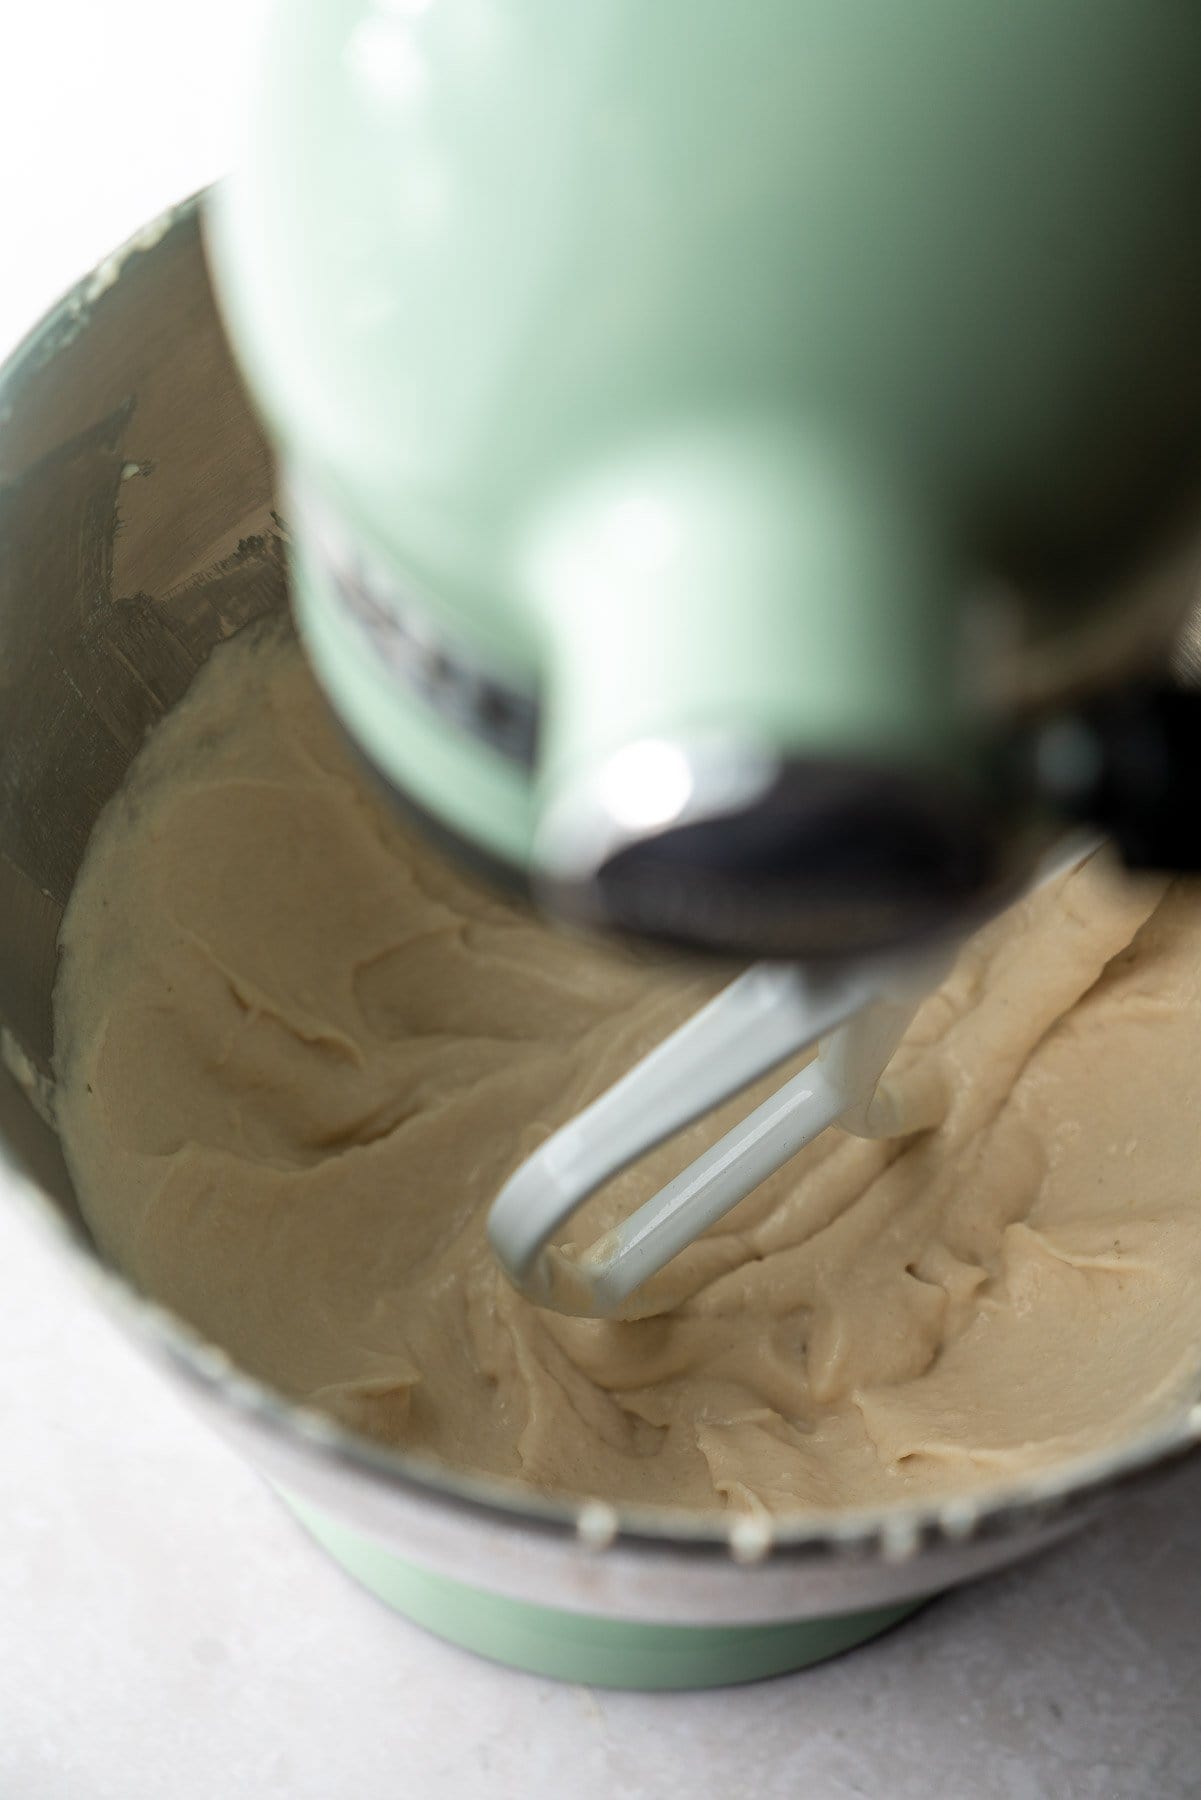
- If the blender doesn't add enough air into the batter, you'll need to aerate it with another method. Transfer the batter to a stand mixer and whip on a low speed for 3 minutes. Alternatively, use a whisk or your hands to aerate the batter.
- Do the water check (see Tips and Tricks section) to check if the batter floats. If the batter floats in water, then it has enough air and we're ready to fry!
2. Fry and Soak the Vadas
- In a wok or a Dutch Oven, heat neutral oil to about 315°F (please check using a food thermometer). Any lower and the vadas will soak up the oil, any hotter and the vadas will be undercooked and mushroom.
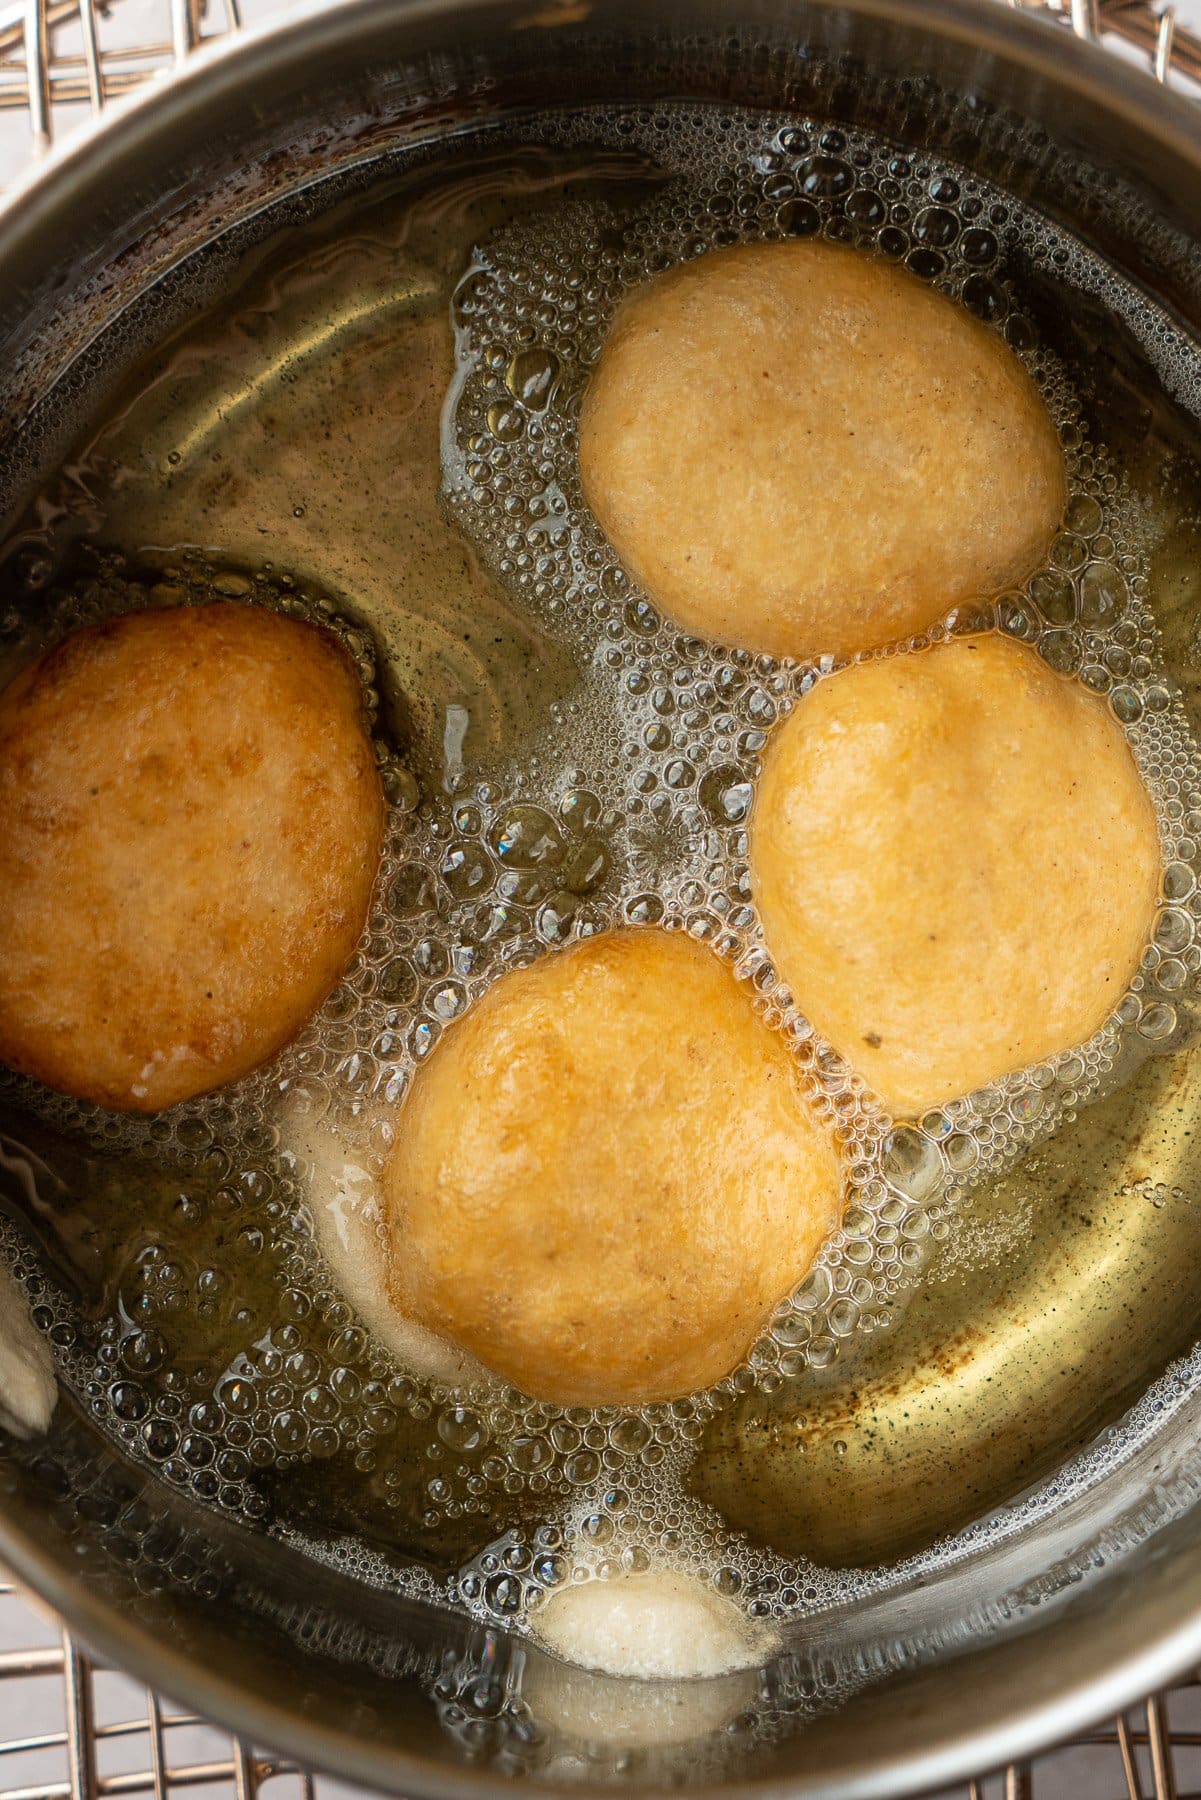
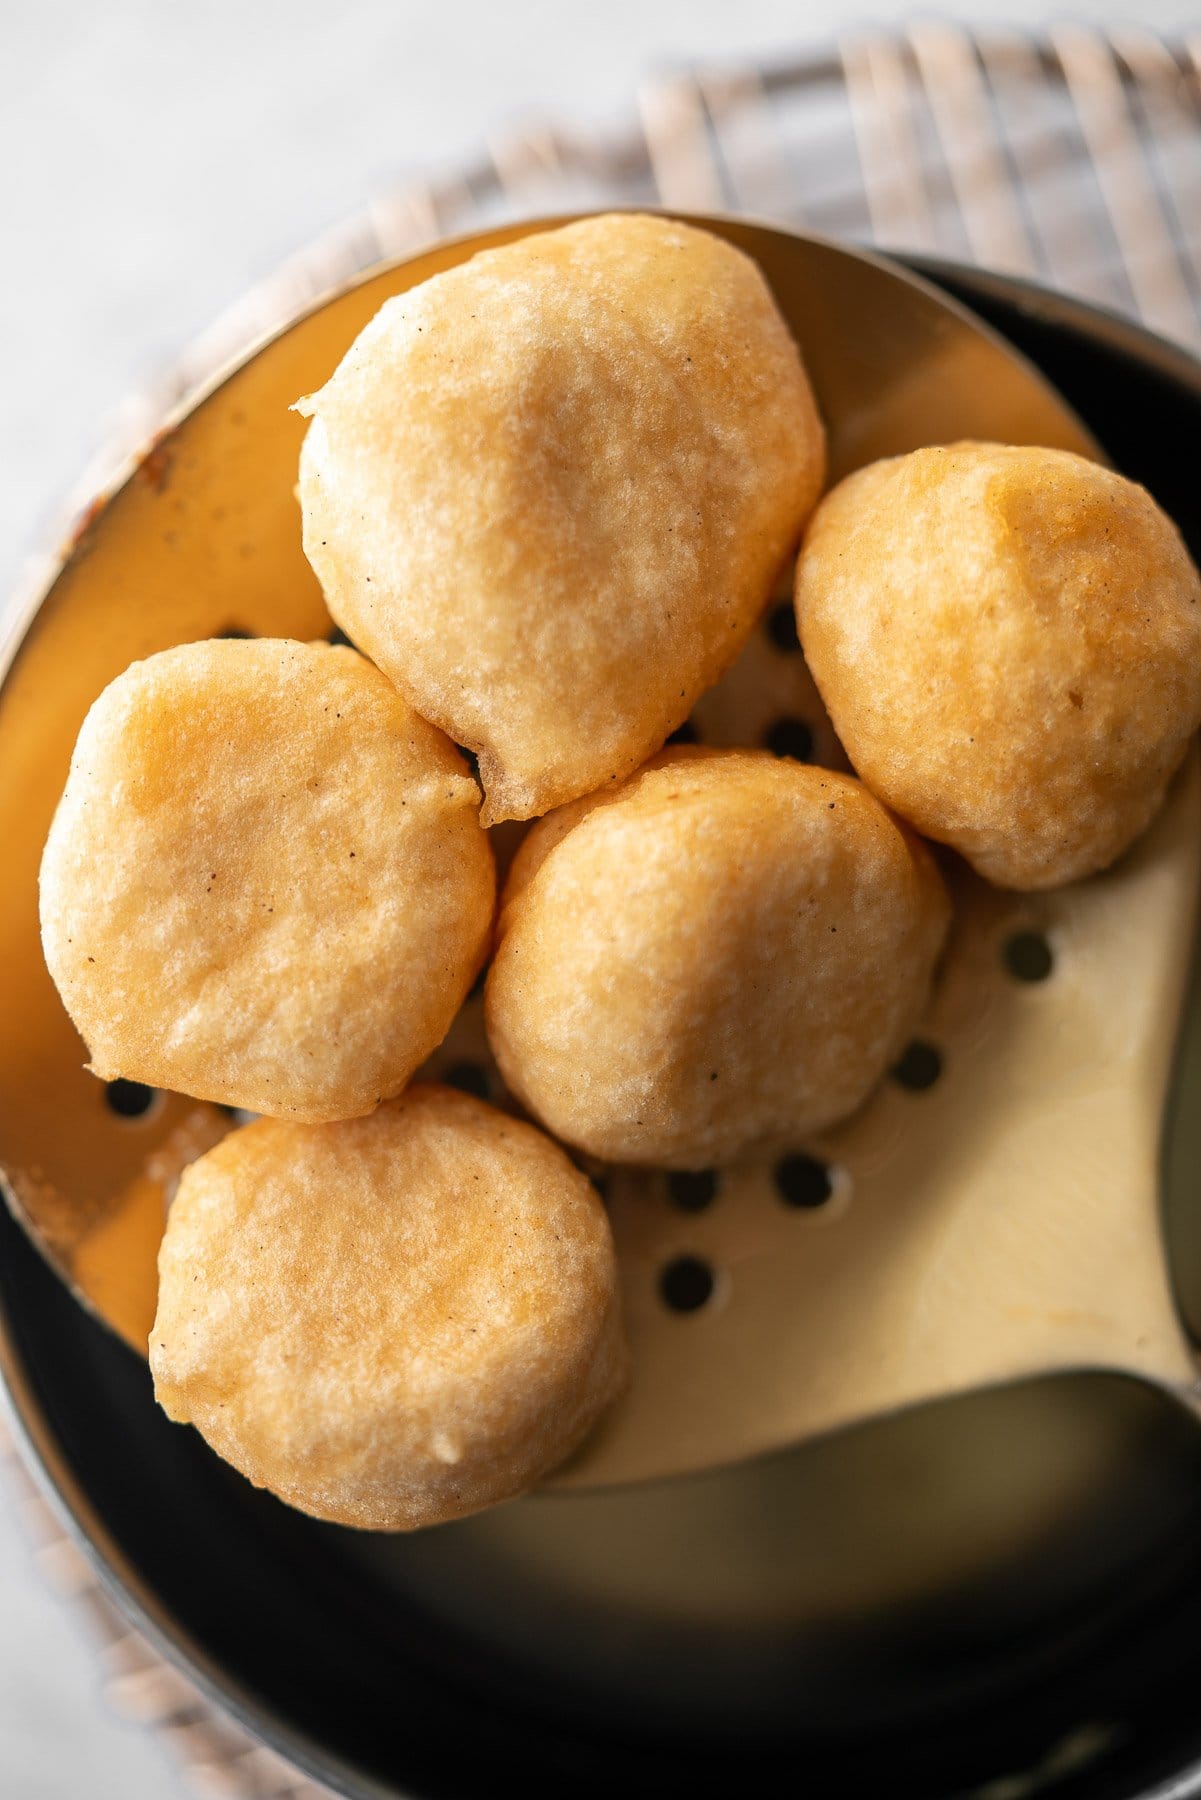
- Once the oil is hot, use a spoon or a tablespoon cookie scoop to drop the batter into the oil. The vada should float to the top and immediately start to vigorously bubble. Depending on the size of your fryer, do this in batches.
- After about 2-3 minutes, the uncooked batter will start to bubble on the top, and the bottom will be a light brown. They're ready to flip to the other side and cook for another 2-3 minutes. While the vadas are frying, prepare a large bowl with warm to hot water.
- Scoop the vadas out of the hot oil using a slotted spoon and let the oil drain. Then transfer the vadas to the bowl with hot water. Cover the bowl with a plate to keep the water warm. Continuing frying all the batches of vadas.
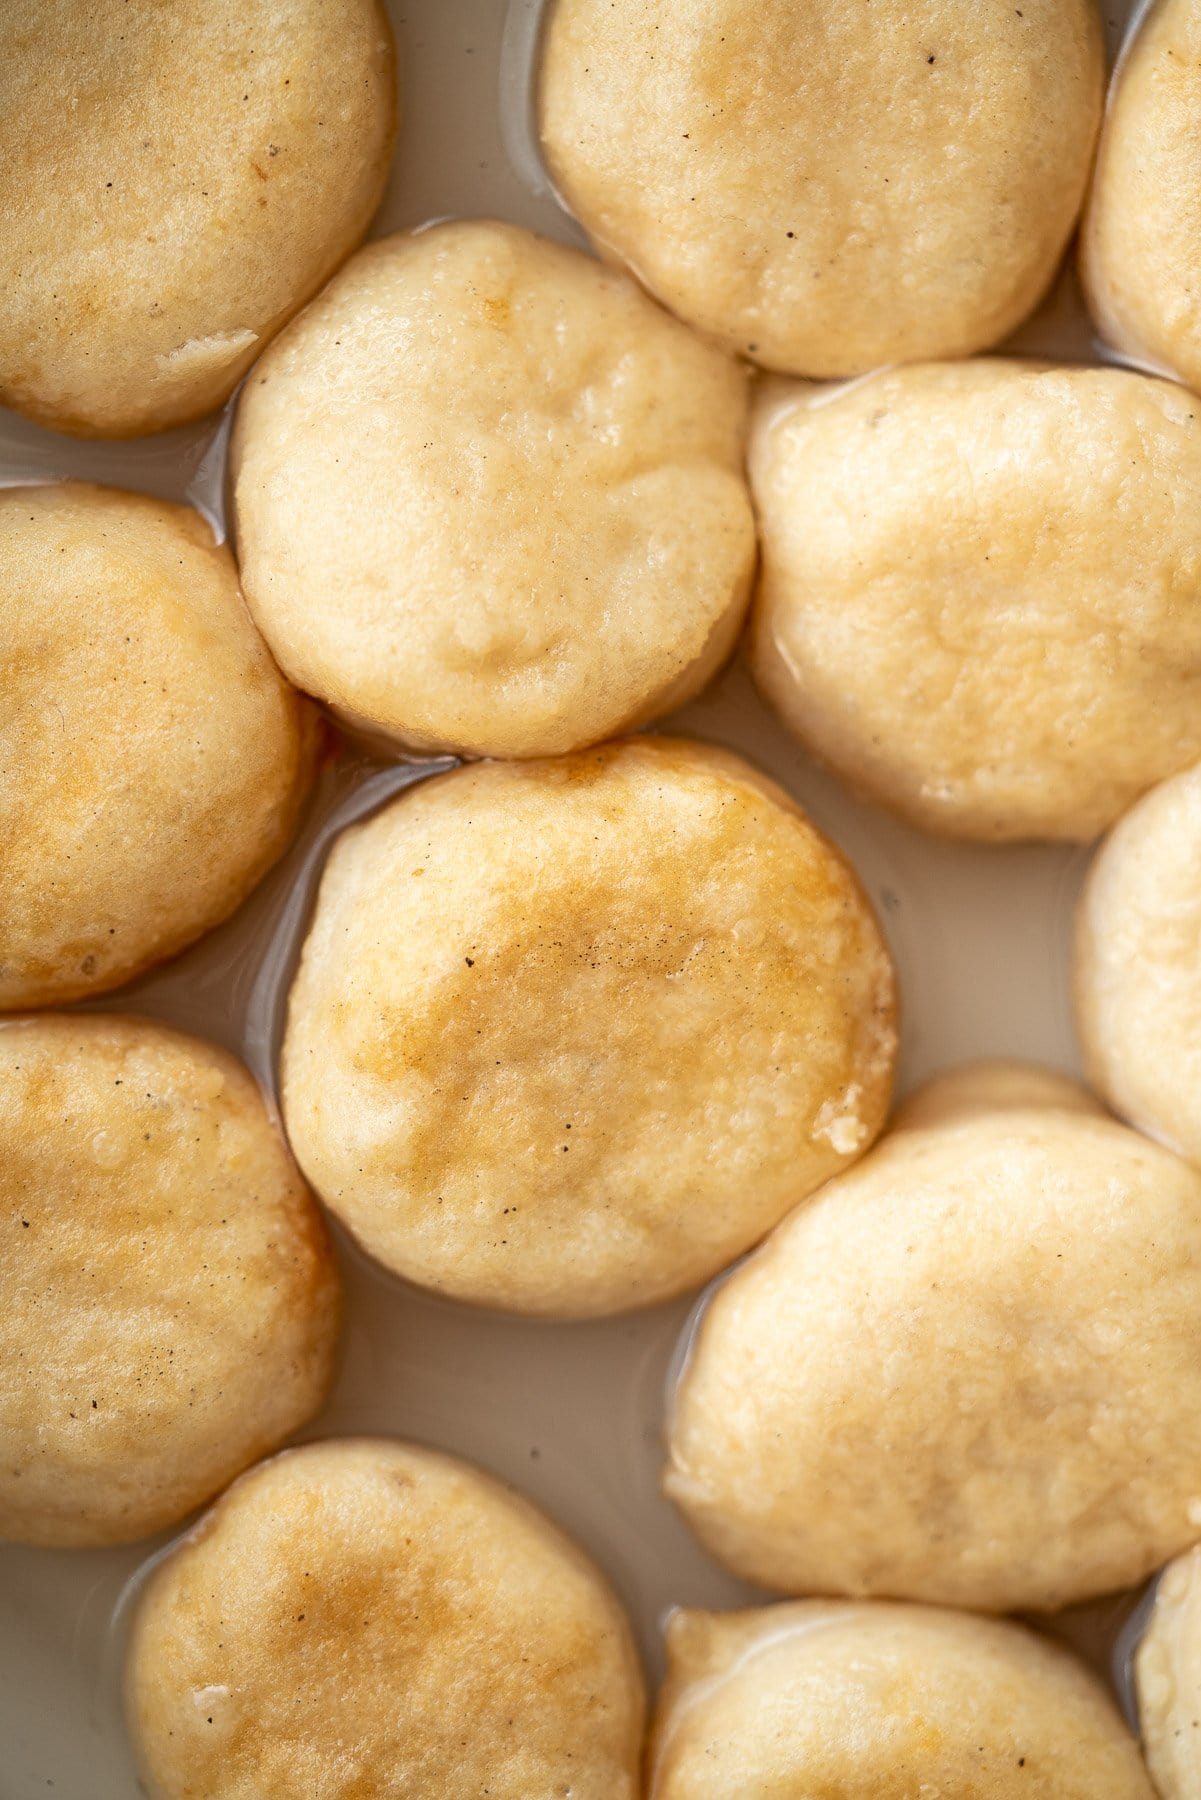
- Allow the vadas to soak for 20-30 minutes in warm to hot water. After about 10-15 minutes in, be sure to flip them so they get an even soak.
- After the soaking time, you'll notice the vadas are much lighter in color and are no longer crispy. Gently press the vadas between your hands to remove as much excess water as possible. Then, you're ready to assemble the chaat.
Note: If you don't want to use all the vadas, transfer them to a freezer bag after they've been fried and have cooled down. However, if you soak them in water then they must be consumed within a week.
How to Assemble and Serve Dahi Bhalla Chaat
Assembling Dahi Bhalla Chaat is very similar to other dahi-based chaats, like Samosa Chaat. It's a matter of layering flavors.
- Vadas. First, add the soft vadas in a serving platter with edges that will hold in all the liquid. Spread it out into the first layer.
- Dahi. Whisk the dahi so it's smooth. Completely cover the vadas in dahi.
- Chutneys. Drizzle the cilantro-mint chutney and the imli chutney over the vadas.
- Spices. Sprinkle the chaat masala, cumin powder, and chili powder all over the dish.
- Toppings. Sprinkle the pomegranates, sev, and cilantro all over the chaat as well to add crunch throughout the dish.
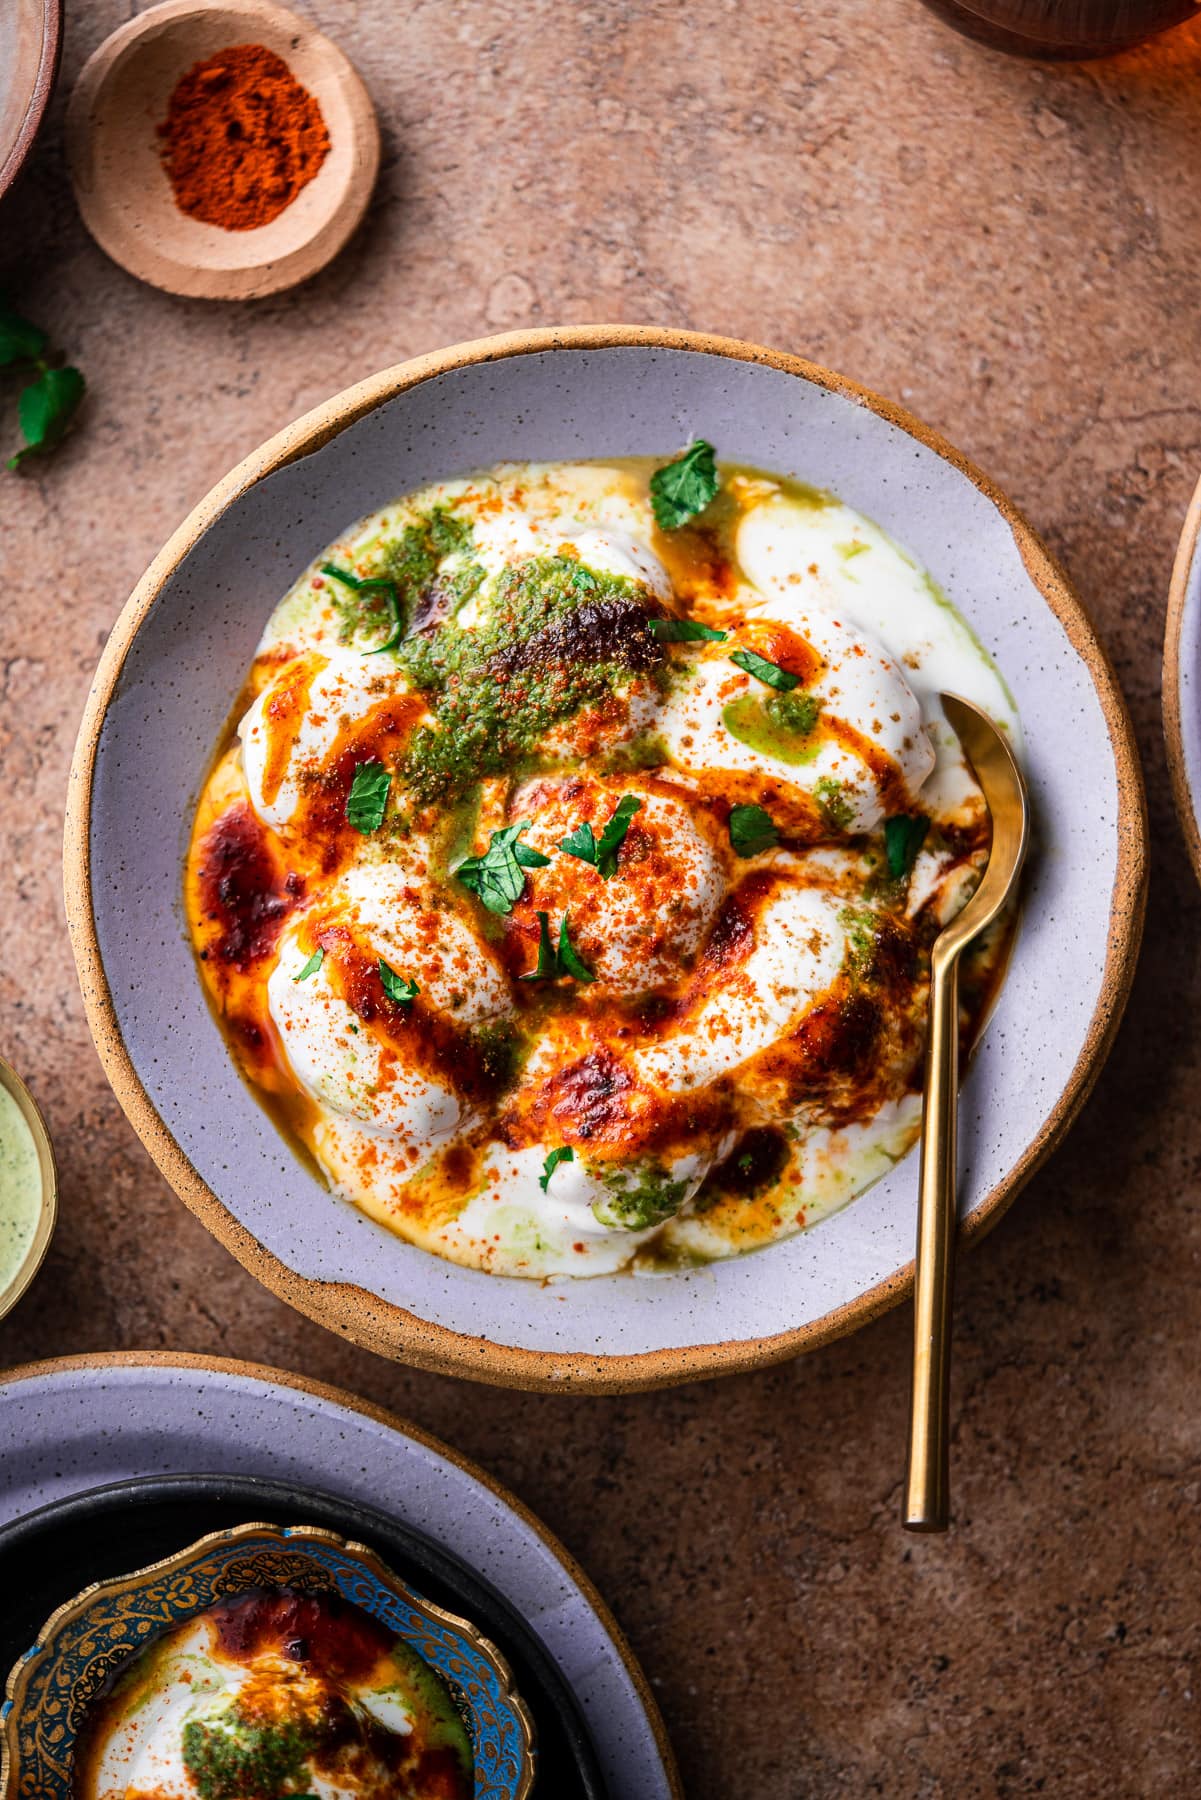
Add a serving spoon to the platter and guests can scoop out 1-2 vadas depending on their preference.
I've also seen some aunties just layer the dahi on top of the vadas, and then create a chaat corner with little bowls of chutneys and toppings where the guests can add whatever they want to their plate.
Tips and Tricks
There are a few spots where making vadas can be awry - so here are my best tips to make sure you have the softest, fluffiest vadas!
- Soak and grind the dals, separately. Soak the two dals overnight and grind them separately in a small volume blender. This is because moong dal takes less time to grind than urad dal. The resulting pastes are also very different in texture, so they need different amounts of water. It's not a big deal if there's not enough dal to reach the blades, you can combine them.
- Don't add too much water. Only add as much water as needed to grind the dal, starting with a tablespoon at a time. I only needed about a ¼ cup of water and it resulted in 16 ounces of batter.
- Don't forget salt! Seriously, don't forget to salt your batter! You can also add chilis or other spices as you'd like to the batter.
- Do the water test. To check if the batter is thick and aerated enough, fill up a bowl with water. Take a little dollop of the batter, and toss it into the bowl. If it immediately floats up, it's ready to fry. Otherwise, it may need to be put in the grinder for longer or aerated more. You can mix it in a stand mixer, with your hands, or a whisk. If it doesn't have enough air, it'll sink in the oil instead of floating.
- Don't go big with the vadas. The vadas need 5-6 minutes in oil to cook all the way through to the center. Don't make the vadas too big, because they will also expand when the batter is dropped in the oil as well as when they're soaking in the water. 1 tablespoon is the perfect size. I recommend using a 1 tablespoon cookie scoop to get a uniform size.
- The right temperature for frying. I measured in my oil temperature at about 315°F for the perfect temperature for frying the vadas. Any hotter and the top of the vada would mushroom. It also cooks the outside faster than the inside, so the center ended up being a liquid batter. If this happens, you can remove it from the oil and double fry it or bake it the rest of the way at 350°F for 4-6 minutes.
- Knowing when the vada is done frying. The vadas took about 2-3 minutes on each side to be completely cooked through the center. You'll notice after you do the first side that the uncooked side popping out of the oil will have little air bubbles coming to the top and the bottom will be lightly browned. Then it's ready to flip. After frying both sides, you should be able to squish the fluffy vada. You can also cut one open with a knife to check the inside for doneness, or poke it with a toothpick to see if it comes out clean.
- Fry in batches. The vadas can be sticky at first, so give them plenty of space to fry without touching other vadas. Keep the soaking water warm by covering it with a lid as you transfer them into the bowl.
- Squeeze out excess water. Gently squeeze out as much water as you possibly can after soaking the vadas so that they're not too soggy and can soak up the dahi.
Storage Instructions
The lentil fritters can be stored separately from the dahi in the refrigerator for up to a week, which makes dahi vada great for making ahead.
The batter can be kept in the fridge overnight. In the morning, you may notice some separation. Whisk the batter to bring it back together and add air. The water test will be crucial here to confirm it's vitality.
Freezer Instructions
The fritters also freeze really well! Here's how to do it:
- Once they're fully cool post-frying, simply transfer them to an airtight bag. Freeze them for up to 3 months. Be sure to label the date.
- When you're ready to use them, let them sit in a hot water bath for up to an hour.
- Once they're soft, press out the excess water and assemble the chaat.
Note: If they've already soaked in the water, they cannot be frozen. Well, they can. But the resulting texture will make you toss them.
More Indian Appetizers to try
Recipe
Want to Save This Recipe?
Thinking about making this recipe? Enter your email and I'll send it straight to your inbox to save for later. Plus, get new recipe inspiration from me every week!
By submitting this form, you consent to receive emails from Masala and Chai.

Dahi Vada
Equipment
- Dutch Oven for frying
Ingredients
- ½ cup urad dal, (split matpe beans)
- ¼ cup moong dal
- 1 tablespoon ginger, grated
- ¼ teaspoon salt
- ¼ teaspoon black pepper
- neutral oil, for frying
- 1 ½ cup dahi
- ¼ cup cilantro-mint chutney
- ¼ cup tamarind date chutney
- ½ teaspoon Kashmiri chili powder, or to taste
- ½ teaspoon chaat masala, or to taste
- ½ teaspoon ground cumin, roasted
- sev, pomegranates, cilantro, for topping
Instructions
- Soak the urad dal and moong dal in twice the amount of water in separate bowls overnight, or for up to four hours. Rinse the dals after soaking.
- Grind the moong dal in a blender or food processor until it's soft and fluffy, adding a tablespoon of a water at a time and being careful to only add as much as needed to create a thick paste. Transfer the moong dal paste to a mixing bowl.
- Grind the urad dal in the same fashion as the moong dal until it's white and creamy. Transfer it into the same bowl as the moong dal. Add the salt, ginger, and black pepper.
- Whisk the dals together until combined and to aerate the batter. Test a bit of the batter in a bowl full of water to see if it floats to the top immediately. If it doesn't, continue to whip the batter to add more air.
- Heat a pot of neutral oil on low to medium heat until 315°F. Take a tablespoon scoop full of batter and carefully transfer it to the hot oil. Fry until golden brown on both sides, about 2-3 minutes on each side, then drain it of oil.
- Transfer the freshly fried vadas to a bowl of warm to hot water to soak for 20-30 minutes. Flip them half way. After the soaking time, carefully squeeze out the excess water from each bhalla between your hands.
- Assemble the chaat - whisk the dahi until fully smooth. Transfer the vadas to a serving platter and cover it in dahi. Top with with cilantro-mint chutney, imli chutney, chili powder, chaat masala, roasted ground cumin, sev, and pomegranates.
Notes
- Don't add too much water. Only add as much water as needed to grind the dal, starting with a tablespoon at a time. I only needed about a ¼ cup of water and it resulted in 16 ounces of batter.
- The right temperature for frying. Fry at 315°F. Any hotter and the top of the vada would mushroom. It also cooks the outside faster than the inside, so the center ended up being a liquid batter. If this happens, you can remove it from the oil and double fry it or bake it the rest of the way at 350°F for 4-6 minutes.
- Knowing when the vada is done frying. The vadas took about 2-3 minutes on each side to be completely cooked through the center. You'll notice after you do the first side that the uncooked side popping out of the oil will have little air bubbles coming to the top and the bottom will be lightly browned. Then it's ready to flip. After frying both sides, you should be able to squish the fluffy vada. You can also cut one open with a knife to check the inside for doneness, or poke it with a toothpick to see if it comes out clean.



Liz says
I look forward to more Mama Garg recipes!!
Shweta says
As do I 😉