Starting a food blog has been unsuspectingly one of the hardest things I've ever done. After thousands of dollars invested in themes, hosting, plug-ins, SEO classes, masterminds, photography classes, etc... it's been a journey.
Now that I'm one year in, I wanted to give you the very basics on how to start your own food blog the right way.
Why Start a Food Blog
Disclaimer: I'm not an expert. This is what I've learned and compiled over the past year.
Jump to:
It's so important to have your own space, something that you own, to share content and hone in on your craft. Social media is constantly changing (R.I.P. MySpace and Vine). Tik Tok may ban your account. The Instagram algorithm may have a personal vendetta against you. Whatever it is, you'll want the followers you've cultivated over years, people that trust you and want to learn from you and follow you, to have somewhere they can always find you.
Whether you're sharing food photography and styling tips, the best places to eat where you live, or you are a recipe developer there's a space for everyone.
Four steps to start your food blog
- Choose a domain name that will be your username across all of your social profiles and the name of your blog that reflects your intended niche. Host your site on BigScoots.
- Have your host download WordPress.org. Set up your email address.
- Choose your blog's theme, i.e. the general layout and features of your website with Feast, built on Genesis Framework. Make your customizations, download plug-ins, configure all the things.
- Write and publish your first blog post.
This is all going to be really confusing to start with - so I'm going to break it down for you as much as possible! I really encourage you to do as much research as possible past this and figure out what's right for you. I'll share details on what I started with, why it worked temporarily, and what I switched to when I was financially able to.
Step 1: Choosing a Domain Name and where to Host your site
Choosing a Domain Name
Choose a name to represent you and your brand. This will become your domain name (https://blogname.com) and should spread across your social media channels. Check Youtube, Tik Tok, Instagram, Facebook, Twitter, etc to see if the username has been taken. Something will pop into your head and just be right for you and make sense for your target niche. You can always change this later - but it might be a pain in the butt. So you'll want to be a bit forward thinking on this but not so much that it inhibits you from creating your blog.
I started with Treat Yo'self NY in October 2018. I eventually realized it's already a common phrase which may run into legal issues later and that it didn't reflect me or my niche.
Managed Server vs. Shared Server
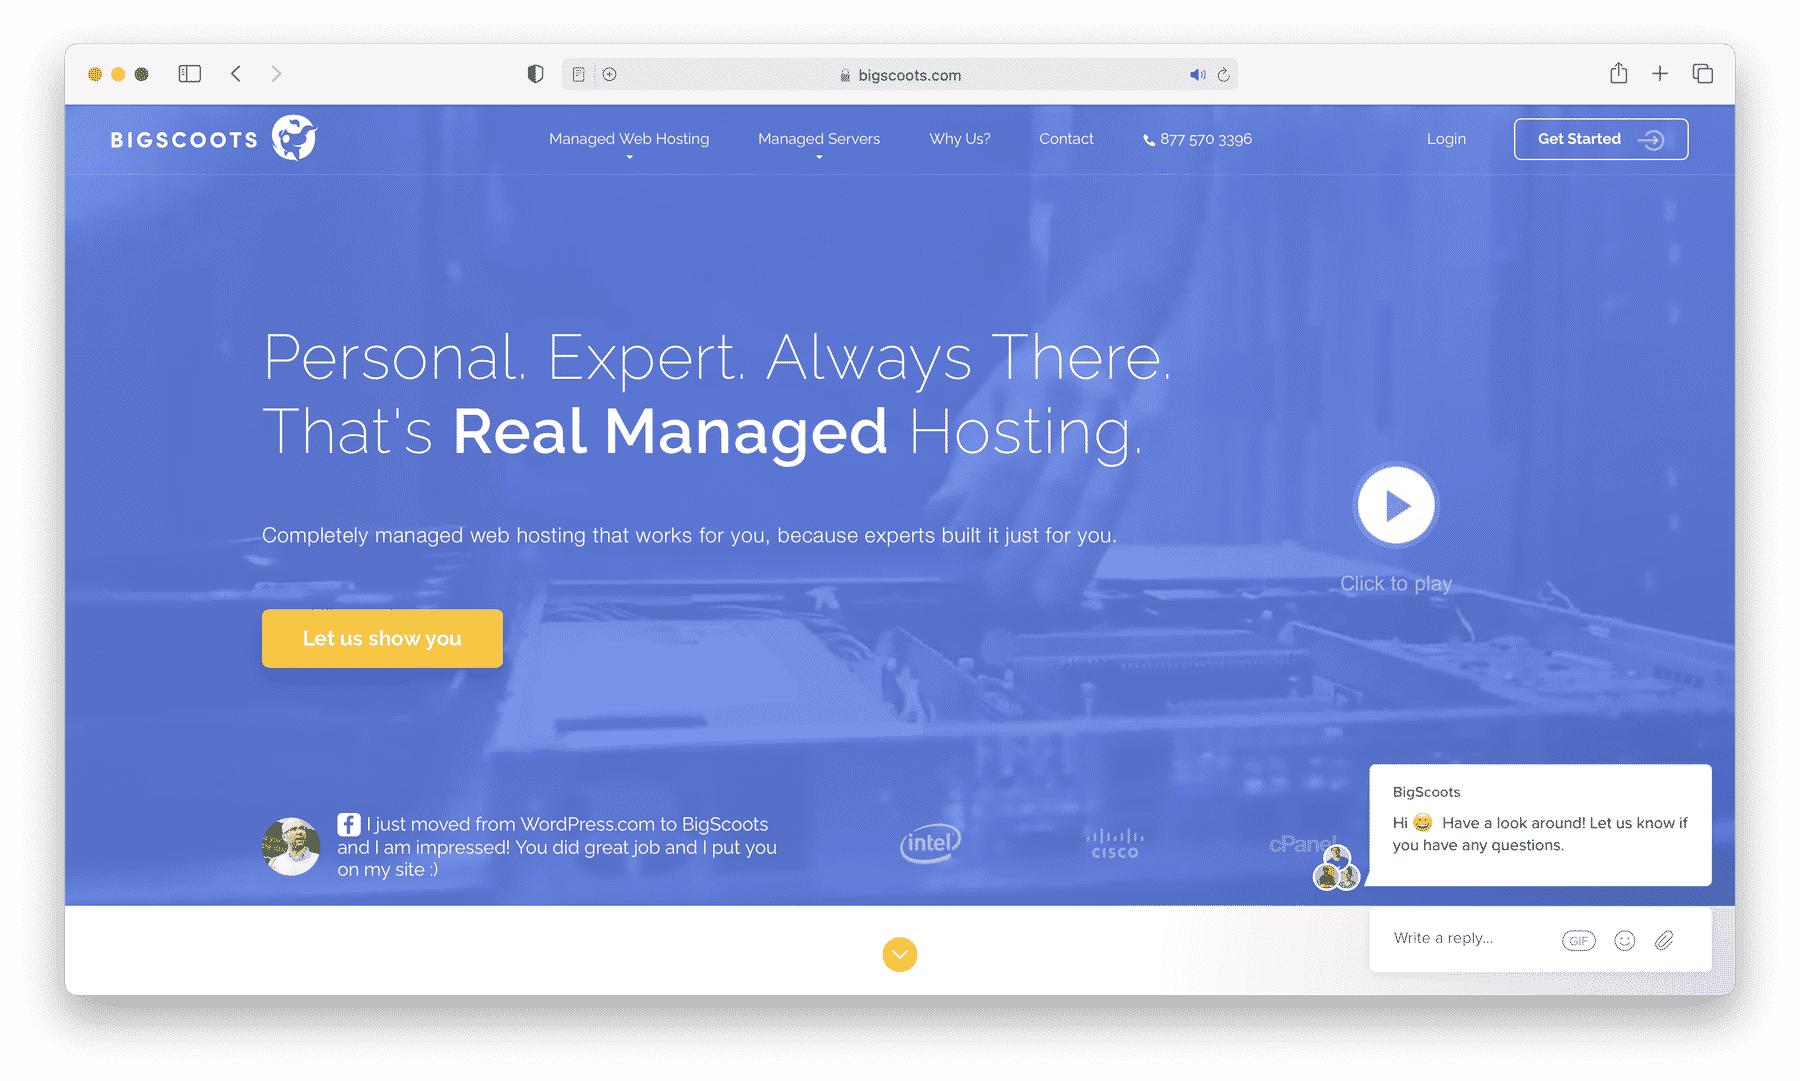
You should be self-hosting on WordPress.org, so you'll need to host your website somewhere. There are two main servers to choose from - a managed server or a shared server. I recommend a managed server if you're serious about making this a business.
A managed server means that your website is on it's own entire server. You've rented the entire house and you're the only one living in it. This means your website is most likely faster because it's not sharing the bathroom or kitchen (resources) with other people and it has more room to scale as your page views increase.
A shared server means that your website is on the same server as other websites and shares resources, thereby reducing the overall cost to maintain it. The drawback is that if for some reason a website on the same server is blowing up, you'll get less resources and your site may be slower. You're renting out the extra bedrooms to roommates who are hogging the bathroom and kitchen.
Which Host to choose
I recommend managed hosting with:
- Agathon
- BigScoots
- Wpopt
Feast Design Co has a hosting article and several resources on their recommendations and why. Switching from a shared server to a managed server was literally like switching the "on" button on my site. My traffic tripled within the first week. There is also no shame to using a shared server and a cheaper service while you are first starting out. But if you're serious about growing your blog, think about your host as the brick and mortar that you're "renting".
I use BigScoots at $35/month for their WPO Starter plan. They will also set up Cloudflare for you. Eventually, I added on their Cloudflare Enterprise plan for an additional $17/month.
Step 2: Where to build your website
The BigScoots WPO Starter plan will automatically install WordPress.org for you for free! If you're migrating from a different host or from SquareSpace, they'll also do that for you for free.99. You'll be able to access your WordPress site to make changes at .
The Great Debate
SquareSpace vs. WordPress vs. Wix. Which one should you get?
Here's what I think -
SquareSpace - If you're more geared towards lifestyle and travel but have some food content, I certainly think that SquareSpace can be a solution for you! The sites are gorgeous - however, the customizations are going to be limited. Additionally, it's going to be a pain to find plugins you need such as a recipe card with all the schema that Google looks for. That said, I've seen several food bloggers rank within the first 3-4 top hits on Google for popular recipes so it can be done.
Wix - I honestly don't know much about Wix but from what I have learned is that it's better for enterprises. I don't know many people that use Wix, and if they do then they have sorely regretted the decision. Migrating from Wix to WordPress is completely manual as well so just save yourself the trouble.
WordPress.org - Most food blogs are on WordPress for a reason. There are thousands of plug-ins and themes available to give you the tools and flexibility you need to customize your site to your liking. And if you're up for it, you can also hire a professional to do it for you. The plethora of tools from recipe cards to themes to social sharing buttons are all there. If you're not technical, I admit it can be confusing. But the good news is, there are SO many people out there to answer your questions.
WordPress.org also gives you the most control over the ads you serve - meaning you have the potential to make the most money if you have more control.
Webflow - Lately, I've seen Webflow popping up as well with templates sold by food bloggers that aren't even using Webflow themselves. Skip this, save the money and please do your research before investing $$$ on your food blog at the word of another person that stands to gain money from it (including me and this post, although I have no financial gain from it!).
WordPress.org vs. WordPress.com
DO NOT. I REPEAT. DO NOT. Sign up for WordPress.com!! You're going to want to use WordPress.org, which means it's self-hosted and YOU OWN ALL YOUR OWN CONTENT. This can be very confusing! WordPress.com vs WordPress.org – Which is Better? (article) goes into depth on why this is so.
If you're using WordPress.com and want to migrate, there are plenty articles online with step-by-step instructions but I sincerely recommend asking your host for help. Most good hosts will do it for you or provide you with the right resources.
Step 3: Which Theme to Choose
Straight up - the majority of food bloggers use Feast. I started off with Foodica Pro and was able to hit a decent pagespeed for desktop, but my mobile site pagespeed was always in the 20s. Google uses mobile-first indexing, meaning your site needs to be fast in order to be competitive with all the other bloggers pouring in money on their blogs for Google to rank your recipes.
Choose a theme that prioritizes site speed and user experience. It should be easy for the user to navigate through your pages and discover new recipes. The theme should also prioritize updates with new Wordpress updates, SEO practices, accessibility, and plug-in compatibility.
Other themes I've heard people use with fast loading speeds and good user experience are Restored316, Astra, Trellis, and StudioPress.
Another option would be to have someone design your site for you, but that could cost several thousands and you may end up with a developer that has no idea what they're doing. If you go with the custom option, make sure it's a referral from someone. It's almost like finding your perfect accountant, but a web developer that understands your vision and doesn't actually hinder your site with bad SEO practices.
A Pretty Theme vs. a Theme that works
As a food blogger, you have to sacrifice aesthetics for a theme that adheres to SEO best practices. It's the sad truth, but an out-of-the-box pretty theme is just that - pretty. It most likely won't pass most of Google's Core Web Vitals, so you won't get much organic traffic.
There is nothing wrong with starting with a theme you bought off of Etsy, as long as you have plans to make a switch in the future when you feel more confident with food blogging when you're ready to grow! If you're moderately techy, you can also make customizations to the theme to make it faster and remove extra junk that's aesthetically pleasing but slows down your site.
I use the Brunch Pro theme with the Feast Plugin at $200/year. A lot of people have concerns that since so many people use Feast themes that all the websites end up looking the same. I generally agree with this, but I also see it as the theme I'll have up until I'm able to afford a reputable designer redoing my site.
Customizing your theme and website
Think of your first rollout of your website as a MVP 1.0 - Minimum Viable Product, Version 1. What are the absolute barebones that you need to roll out your site?
You'll want to customize your theme by choosing fonts, your brand colors, craft your About Me page and Contact page, download plugins, configure your recipe index page, design your homepage, customize your recipe card, etc. Map out categories of recipes that you want to create. Make note of other bloggers and their websites that you admire and let that inspire you as you create your website, while also recognizing that you're going to make a ton of changes along the way.
Eventually, I'm sure you'll completely redo it too as you continue to figure out your end goal as you grow. Please use a staging site to do this so your website is not live to other people before it's ready!!
You're going to learn SO MUCH along the way - just keep that in mind as you lament over having to redo a ton of photos and blog posts. All of us end up doing this! Go over as many resources as you can in the Resources and Links section as you continue creating your site so that you've set up as much as possible, but also recognize that getting started on your food blog and writing SEO and user experience-optimized posts take a while to get right.
Additionally, whether you're using the Feast Plugin or not - they provide AMAZING resources applicable to almost all food bloggers. I highly recommend going through their tutorials and FAQs to learn how to configure the backend parts of your website before you end up having to hire someone to redo it or implement redirects which could have easily been avoided.
Check out this blog post on choosing props for food styling - which also helps you think about your brand!
Step 4: Write and publish your blog post

For your first post, I think it's important to just get it out there. Create an outline for your blog post and use headings. Write a post that will be valuable to your readers with as much information you can provide them. Use high quality photos and make sure they're sized correctly. Completely and fully fill out your recipe card. Start to get a feel of your writing style and ideal reader.
A general outline that I follow is:
H1 - Post title
3 sentences describing the recipe and why the reader should make it
Hero Image
Background on the recipe - it's inspiration, history, why it's so good
Recipe video
H2 - What is _____? (my recipes are ethnic and usually need explanation)
2-3 paragraphs explaining the recipe, when it's eaten, what the significance is
H2 - Ingredients - Notes and Substitutions
Image with ingredient flatlay and labels
Interesting ingredients in bullet format - where to find them, what the best one is, what kind to use, what are substitutions
H2 - How to make the recipe
Detailed steps on making the recipe with process shots
H2 - Expert Tips
Tips and tricks to get the best outcome for the recipe
H2 - Frequently Asked Questions (use Yoast Blocks)
Answer questions people ask that show up on Google when they search the recipe as well as anything else you think they may ask. Also add answers such as how to store the dish, how to freeze it, how to reheat, etc.
Second hero image or action shot
H2 - More Recipes to try
Bullet point list of more related recipes
Call to action
Encourage them to sign up for your newsletter, pin the recipe, find you on IG, etc
Recipe card
Comment Section
A well formatted recipe example would be this Boondi Raita.
Resources and Links
Food Bloggers Central - ask food bloggers and experts questions
Food Bloggers Central Social Sharing - share your recipes for round ups
Make Traffic Happen - SEO & Social Media Support
Foodie Pro Bloggers - food blogging / Feast theme support
Increase your knowledge
Artificial Lighting Academy - how to shoot food with artificial light
Two Loves Studios - photography and styling guides and courses
Cooking with Keywords - Finding the right keywords to increase organic traffic
Simple Pin Media - conquer Pinterest
SEO Resources for Bloggers - I recommend stalking Casey Markee's internet presence and digesting + implementing everything he has to say regarding SEO. TopHatRank and NerdPress also put out a ton of great free information.
Food Blogger Pro - start and grow your blog
The Food Blogging Mastermind - A 16-week mastermind curated and taught by Eden from Sweet Tea & Thyme, teaching you the foundations of managing a business and running a food blog. Reach out to her to join her waitlist!
Food blog audits
This is only for people with 75+ recipes that could use a roadmap on how to grow their food blog by having an expert audit their blog. It can cost a few thousand dollars.
Keyword Research
You don't need expensive keyword research tools! Google Ads gives you a very broad range for searches which is great to start off with before you feel ready to get something like Keysearch. Choosing high volume, low competition keywords will help your blog grow.
Google Ads (free) - Tools > Keyword Planner > Discover New Keywords
Keyword Surfer (Chrome plugin)
Keysearch ($17/month) - recommended by Casey Markee
Ahrefs ($99/month)
Semrush ($129/month with or $99/month with annual subscription)
Ad Networks
Experts generally recommend against using ad networks that aren't high quality... which sucks. You want to monetize your blog and make money! But it slows down your site, kills user experience, pays literal pennies, and no one wants to see ads about warts while looking at a recipe. Adsense, Gourmet ads, and Ezoic pay too little and it's not worth inhibiting your site.
High Tier:
Mediavine - 60k pageviews, 50k sessions
AdThrive - 100k pageviews
Low Tier:
SHE Media - 20k pageviews, but people have gotten in under this
Recommended Plug-ins
Check with your theme provider on which plug-ins work best with your theme. The below are general plug-ins that should work across all themes that I really like.
WP Recipe Maker Pro (paid) - recipe card
Spotlight Pro (paid) - creates an Instagram link in bio hosted directly on your site
WP Rocket (paid) - speeds up your website and uses Cloudflare
Grow Social pro by Mediavine (paid) - adds social sharing icons to your site and Pinterest embeds
Slickstream (paid) - search and engagement
Feast Plugin (paid) - theme and SEO optimization for Genesis themes
WP Optimize / Optimize Database - database optimizaiton
Wordfence (free) - site security
Updraft (free) - site back ups
ShortPixel (free) - image optimization
Web Stories (free) - make Google Web Stories
Yoast SEO (free)
Akismet Anti-Spam (free)
Newsletter
If Instagram disappears tomorrow, you'll want a way to reach your audience!
Flodesk | Use the link for 50% off subscription - beautiful newsletter for $19/month for unlimited emails and subscribers
ConvertKit - free up to 1,000 subscribers, then $29/month
Mailchimp - free up to 2,000 subscribers, then $31/month at 2,500 subscribers and becomes more expensive
Leave a Reply