
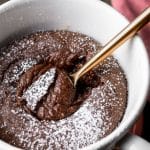
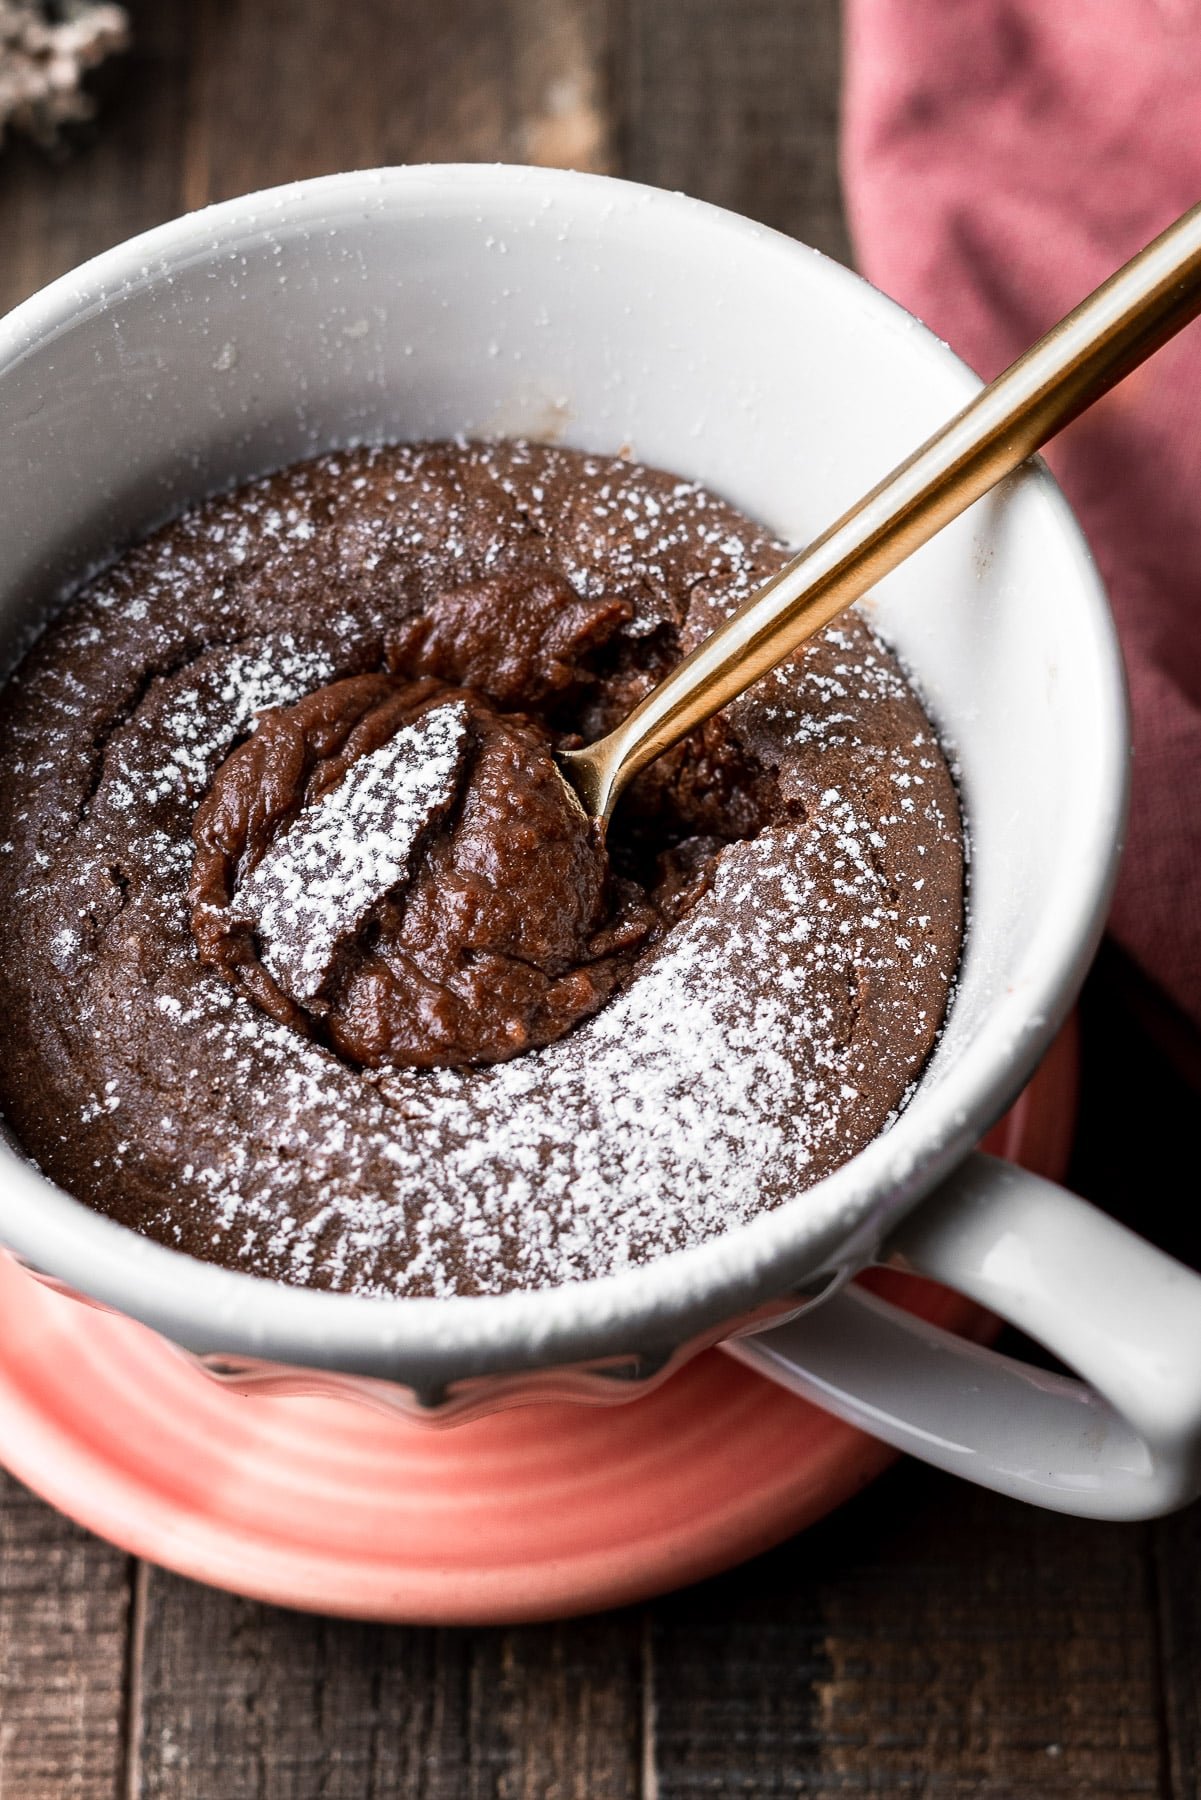
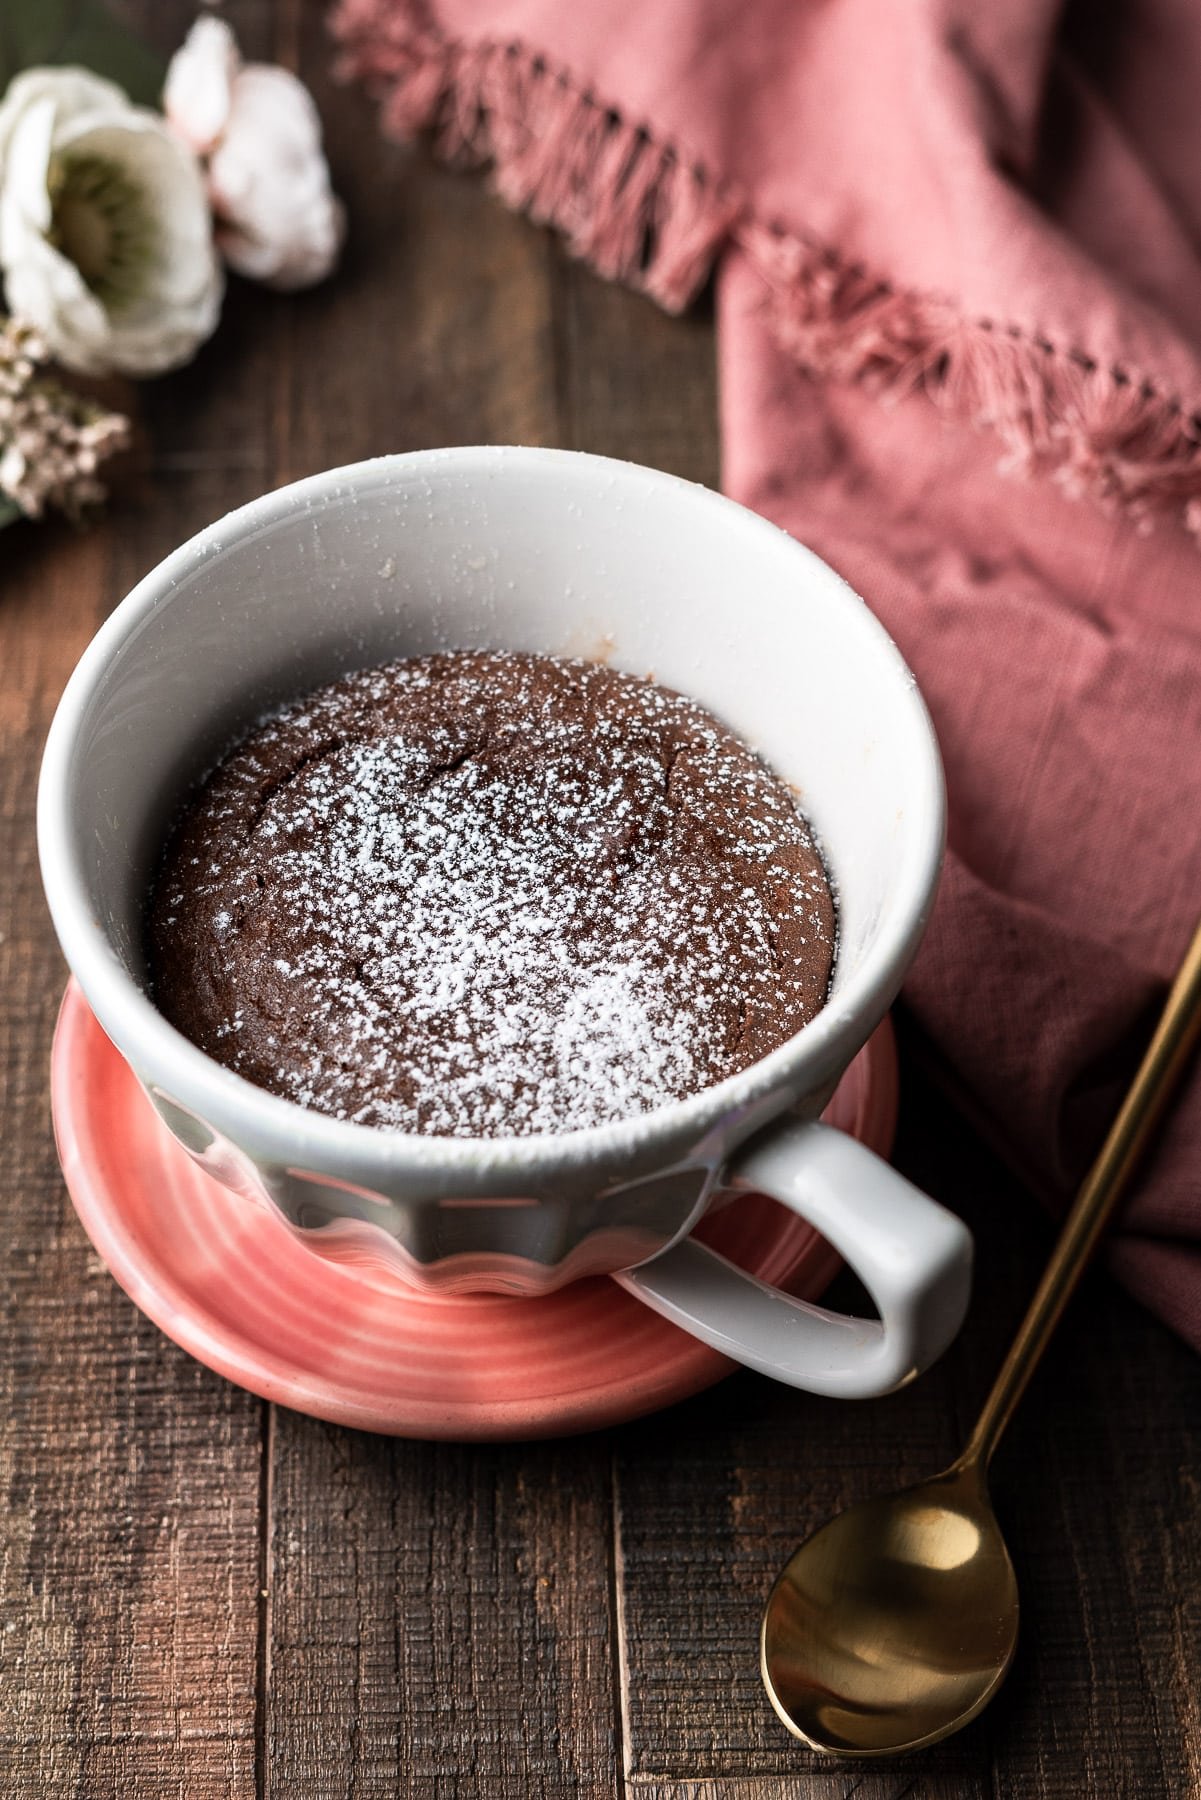
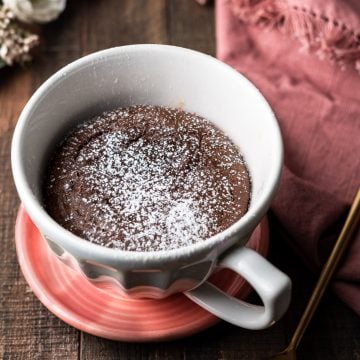
Nutella Lava Mug Cake feels all kinds of fancy and easy for a homemade treat! With only four ingredients and one mug, you can have this gooey indulgent eggless molten lava mug cake ready to enjoy within 15 minutes! Serve it with a simple dusting of powdered sugar or a heaping scoop of ice cream.
I can now seriously appreciate how easy making lava cakes actually are. It's my go-to dessert at any restaurant because I just find the chocolate flowing out is so incredibly beautiful! ...and I love to play with my food. I thought they would be the most daunting dessert to make at home but I was unbelievably wrong.
Turns out, most of them arrive frozen at a restaurant! They're then popped into a microwave for a quick blast to get the molten chocolate in the center? I'm good, luv.
Lava cakes are so much better when made freshly at home and my frugal self is jumping in joy at the money saved! And let's not forget this isn't just any chocolate lava cake... It's a Nutella lava cake! So for all you chocolate hazelnut lovers, this is definitely for you.
Jump to:
Easier than you think
I cannot stress how easy this dessert is! Nothing about this is complicated. In fact, making a mug lava cake is less complicated than making a chocolate lava cake in a ramekin.
- Four ingredients: This recipe only requires four ingredients which you most likely already have at home. This is less than the traditional lava cakes which have butter and eggs.
- Dishes: All you need is a mug and a fork or small whisk. No mixer required!
- Instructions: Just mix and bake, and you're ready to go!
- Time: The bake time is extremely short, and there's no cooling period.
Most mug cakes are made in the microwave by warming them up for a minute or two. While that works with this recipe to make a fully cooked mug cake, to get a true molten center it's going to need to bake in the oven.
How to make a Molten Lava Mug Cake
Making a molten lava mug cake cannot get any easier than this! I hate saying anything is fool proof, but considering I've made this recipe a dozen times at this point it's probably fair to say this is hard to furk up.
Any normal sized mug works for this recipe. Ensure that it's oven safe!
- Prep. Preheat the oven to 350°F. The only thing you have to do here, which is optional, is to give the mug a little bit of grease so that the cake doesn't stick to the sides. Since you'll be eating it out the mug, it's not really necessary unless you want it to pop out.
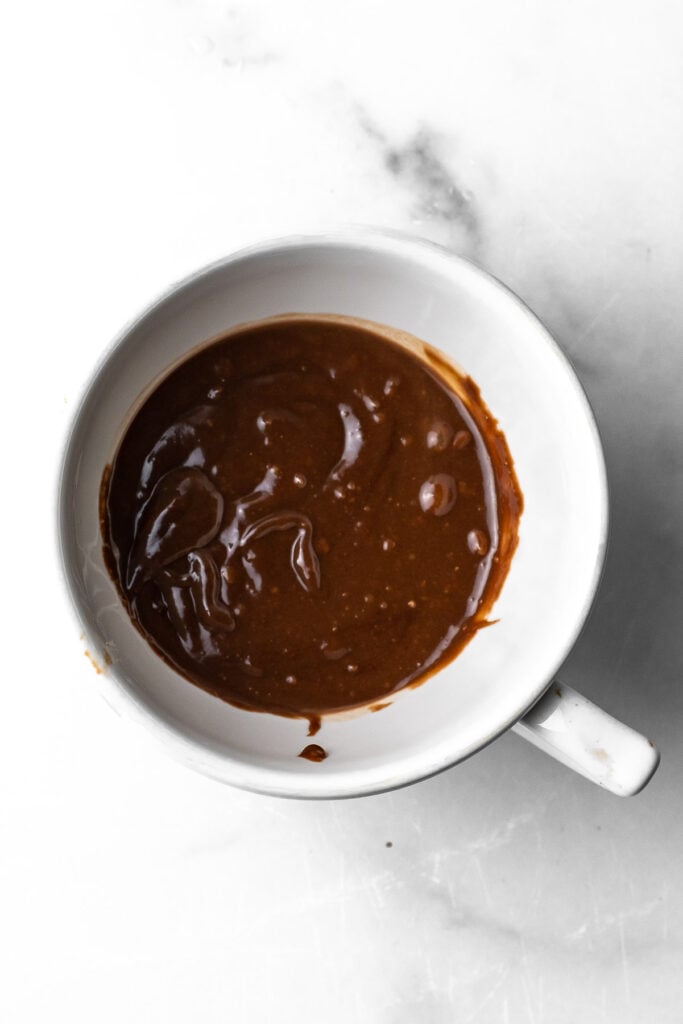
- Mix the ingredients. Dump the ingredients into the mug. Be careful to use a precise amount of flour, less is better, otherwise you'll end up with a molten center that tastes like straight up flour. Use a fork or a mini whisk to mix together the ingredients.
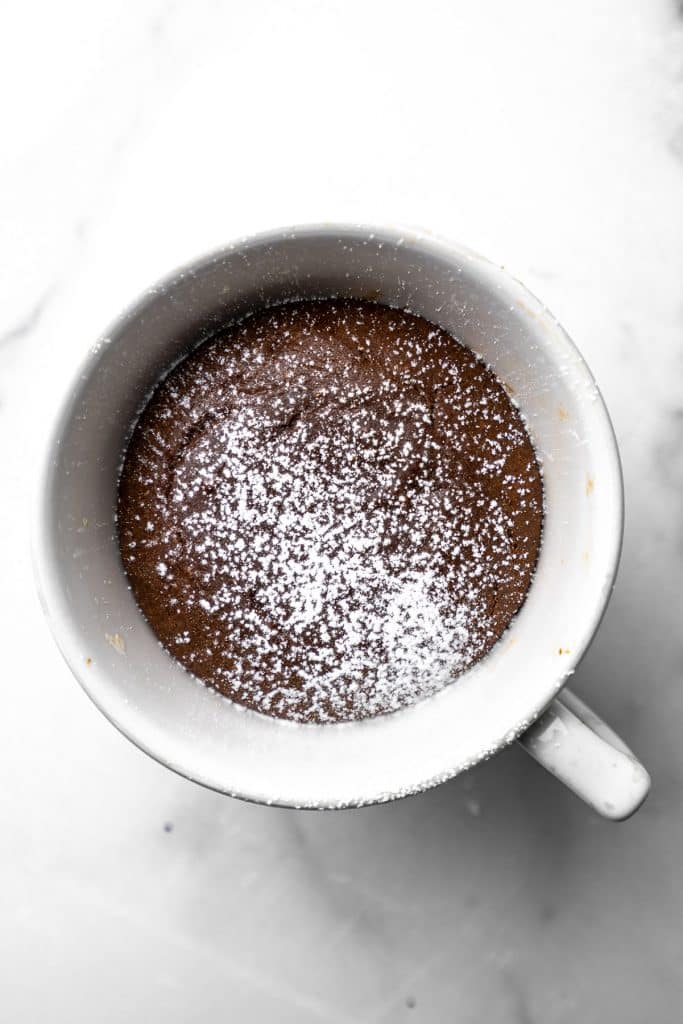
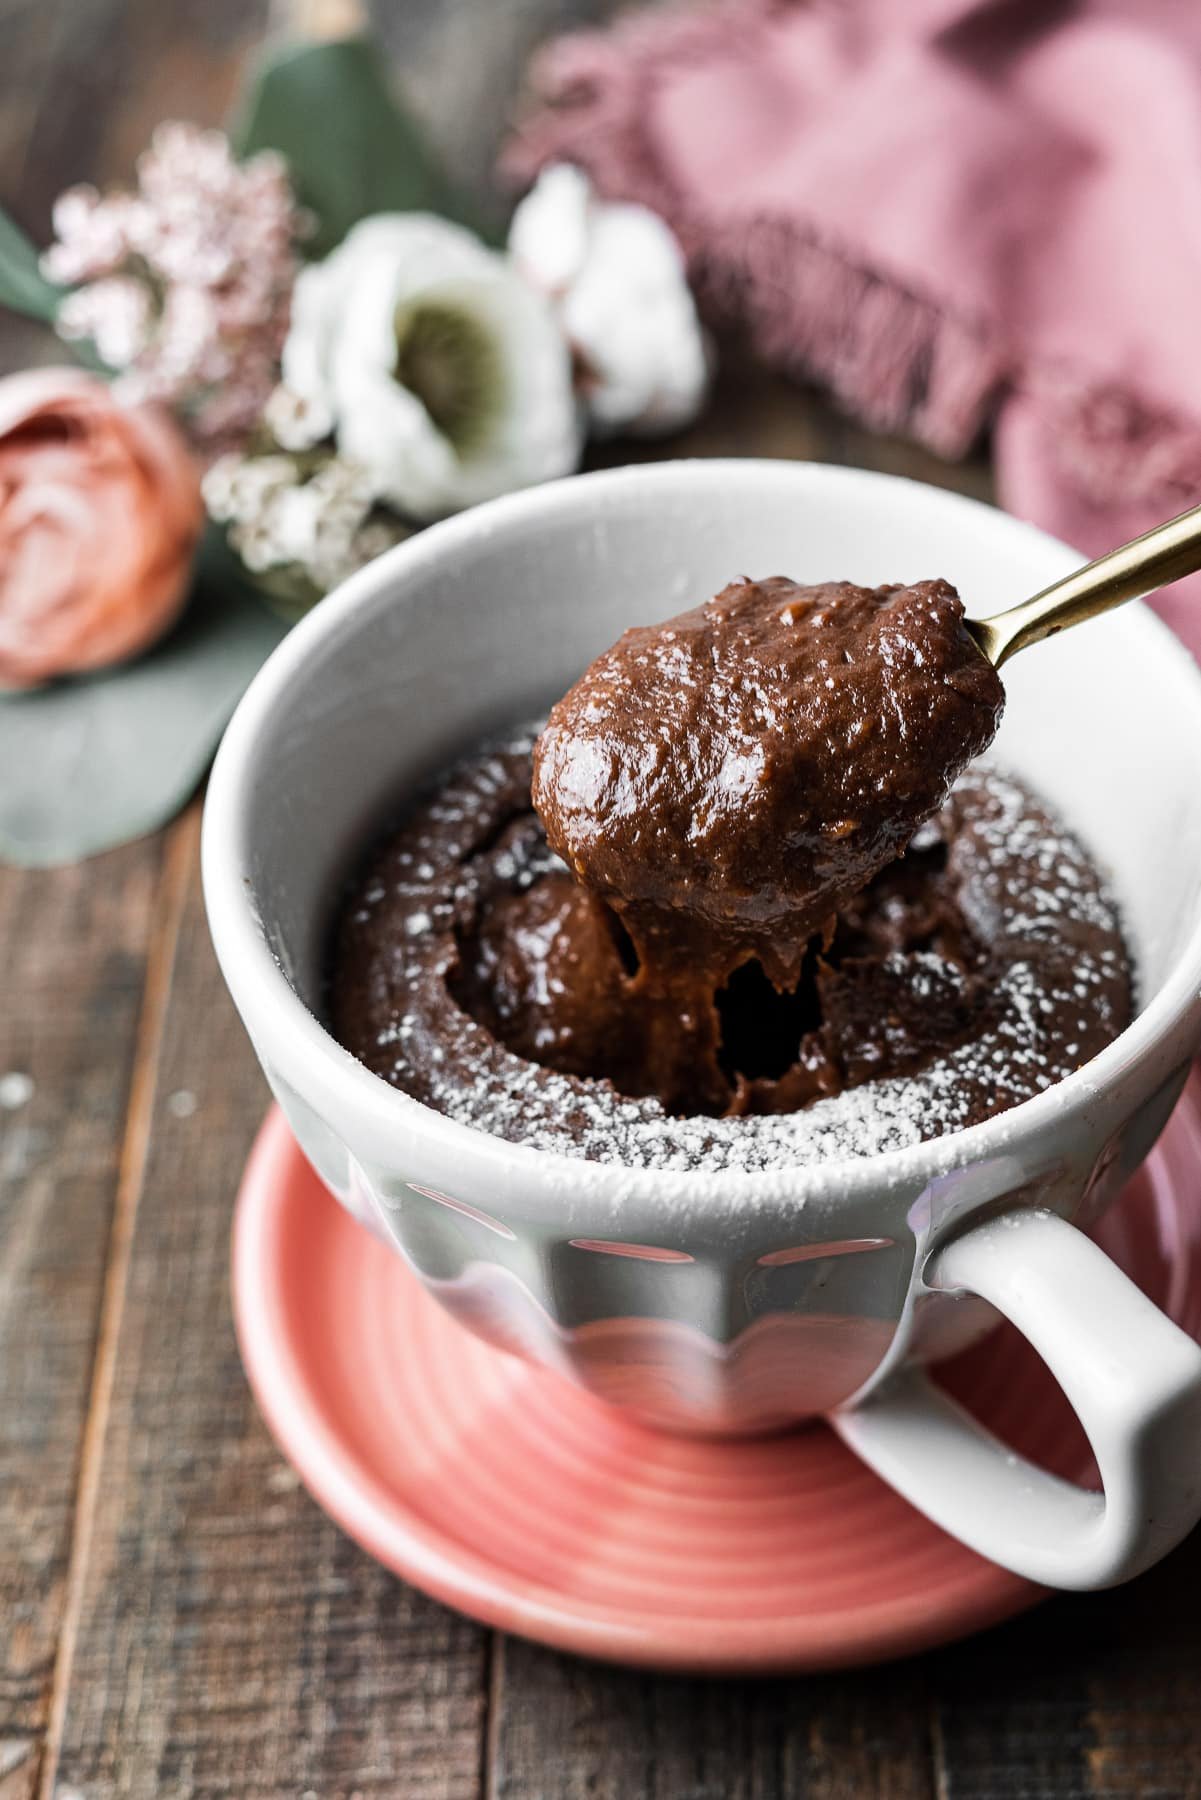
- Bake. Place the mug on to a sheet tray for easy removal from the oven. Bake for 13-15 minutes, keeping a close eye towards the end to ensure it doesn't overbake. The sides will be cooked, but the center will still look gooey.
- Serve with toppings and enjoy!
You can also double the recipe for one mug, but if you do pay close attention to the bake time. It took about 22 minutes for mine to hit the right amount of molten batter in the center.
Toppings for a Lava Cake
While this dessert is already so decadent, you can easily decorate it with a few toppings! Make sure you have a large mug (about 16oz) to add bulkier toppings.
- Fruit: I especially love strawberries! For an added touch, cut them into a fan.
- Ice cream: Some hazelnut ice cream or plain vanilla ice cream is always the perfect addition.
- Syrups: Chocolate syrup, added Nutella, or caramel would be wonderful
- Powdered sugar
Frequently Asked Questions
It's really important to get the amount of flour right here by using loosely packed flour. Even a few extra grams of flour can mean that the ratio will be off and result in a bad mug cake.
Even though the center is still liquid, what's important is that it reaches an internal temperature of 160ºF which makes it safe to eat. This isn't like eating raw cookie dough or batter, especially since this recipe doesn't use egg.
Yes! I recommend freezing the cake first, and then popping it in the microwave at 30 second intervals.
You certainly can. Make sure you spray down the mug really well. After it's baked, invert it on to a plate.
You can use ramekins or even a muffin pan.
Yes, but I would put it in the microwave at 20 second intervals and keep checking to make sure it doesn't fully cook through. Although it's just as good when fully cooked.
This is generally because there isn't enough moisture or it's overbaked, which is most mug cake recipes call for milk.
More Cake Recipes to try
Recipe
Want to Save This Recipe?
Thinking about making this recipe? Enter your email and I'll send it straight to your inbox to save for later. Plus, get new recipe inspiration from me every week!
By submitting this form, you consent to receive emails from Masala and Chai.
Nutella Lava Mug Cake
Recipe Video
Equipment
Ingredients
- 1 teaspoon melted butter, for brushing
- 3 tablespoon all-purpose flour
- ¼ teaspoon baking powder
- 2 tablespoon Nutella
- 3 tablespoon fat-free milk
Instructions
- Preheat the oven to 350°F. Brush the edges of an oven-safe mug with melted butter. Add in the all purpose flour, baking powder, Nutella, and milk. Thoroughly combine it with a small whisk or fork.
- Set the mug on a small sheet tray and place it in the oven. Bake for 13-15 minutes, or until the top of the mug cake has set but the middle still moves or jiggles.
- Serve with a sprinkle of powdered sugar, drizzle of chocolate, fresh fruit, or a spoon full of ice cream.
Notes
- Measure out the flour as precisely as possible. Too much and the cake will taste like flour.
- Whisk the mixture really well so that there are no clumps of flour or baking powder.
Leave a Reply