
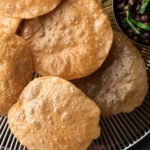
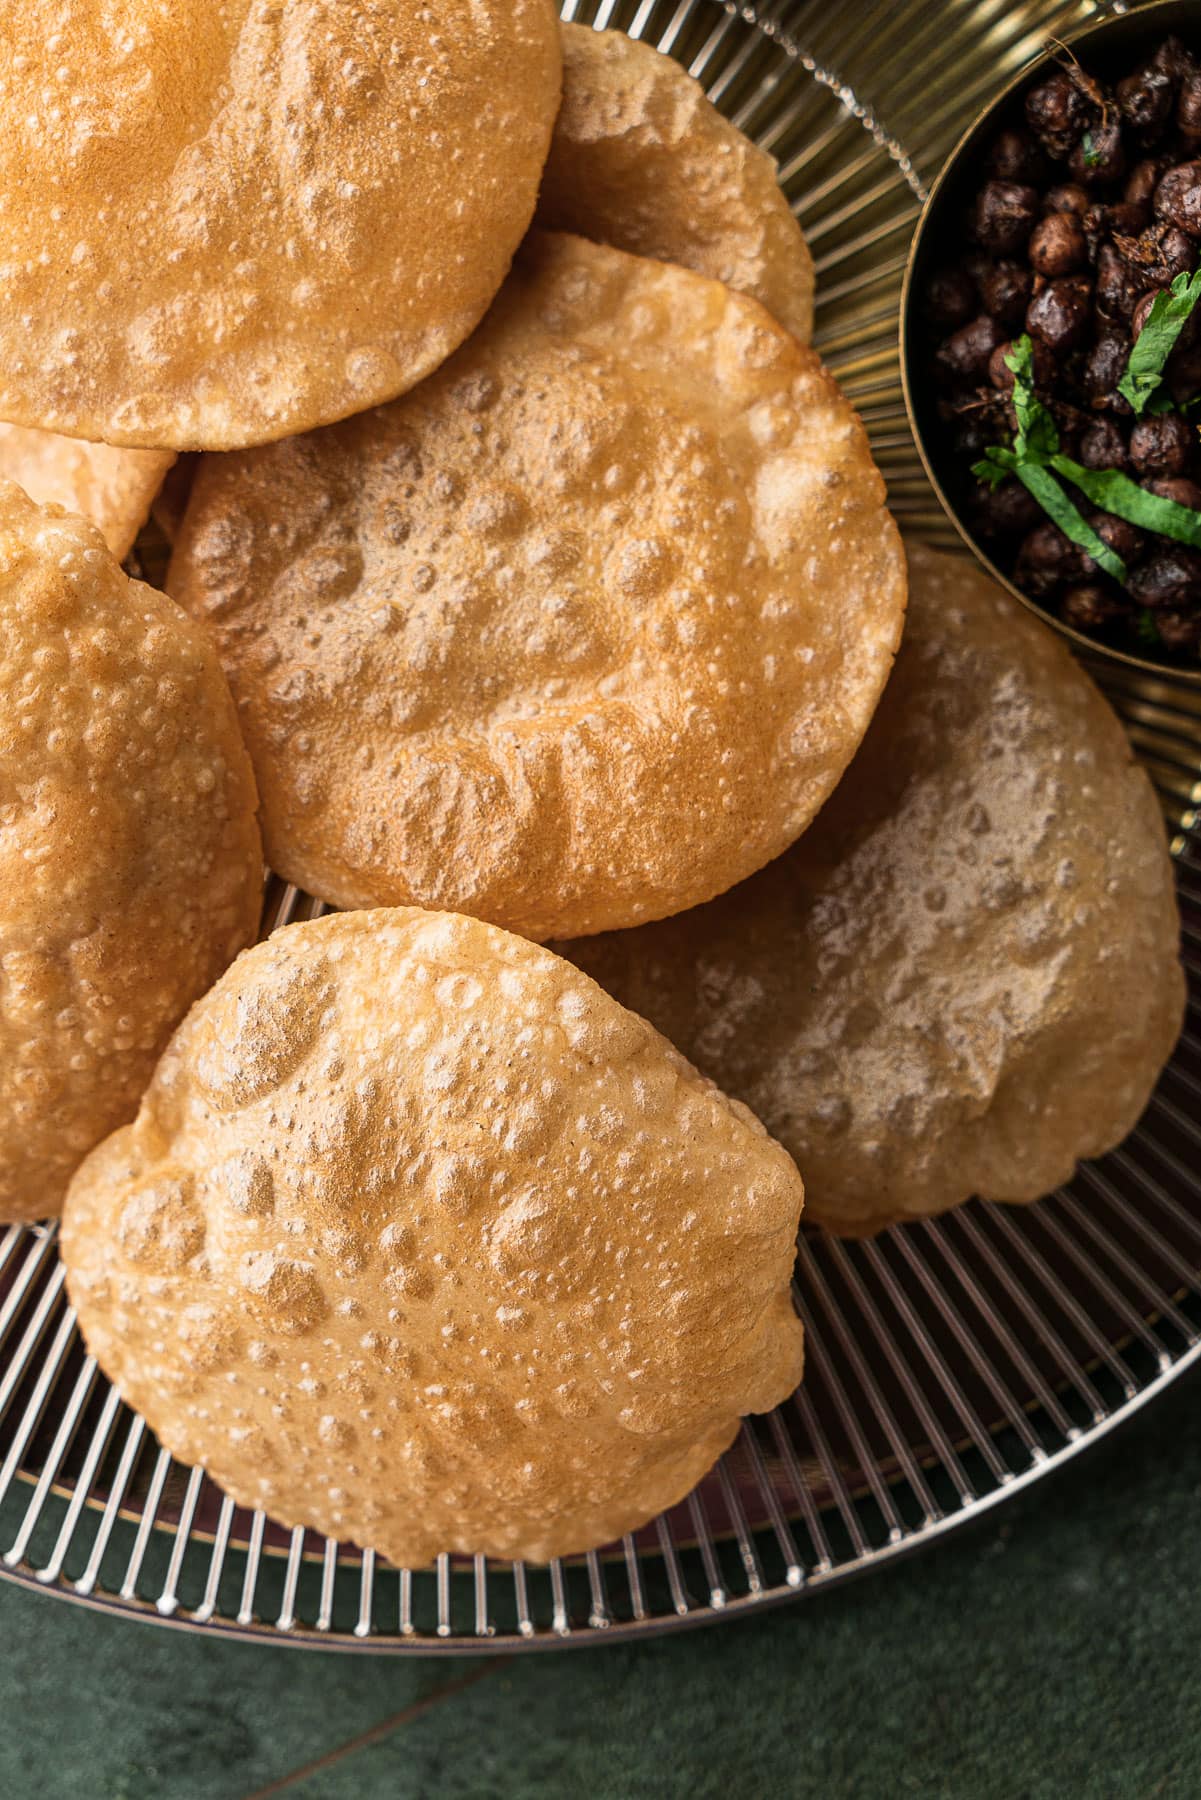
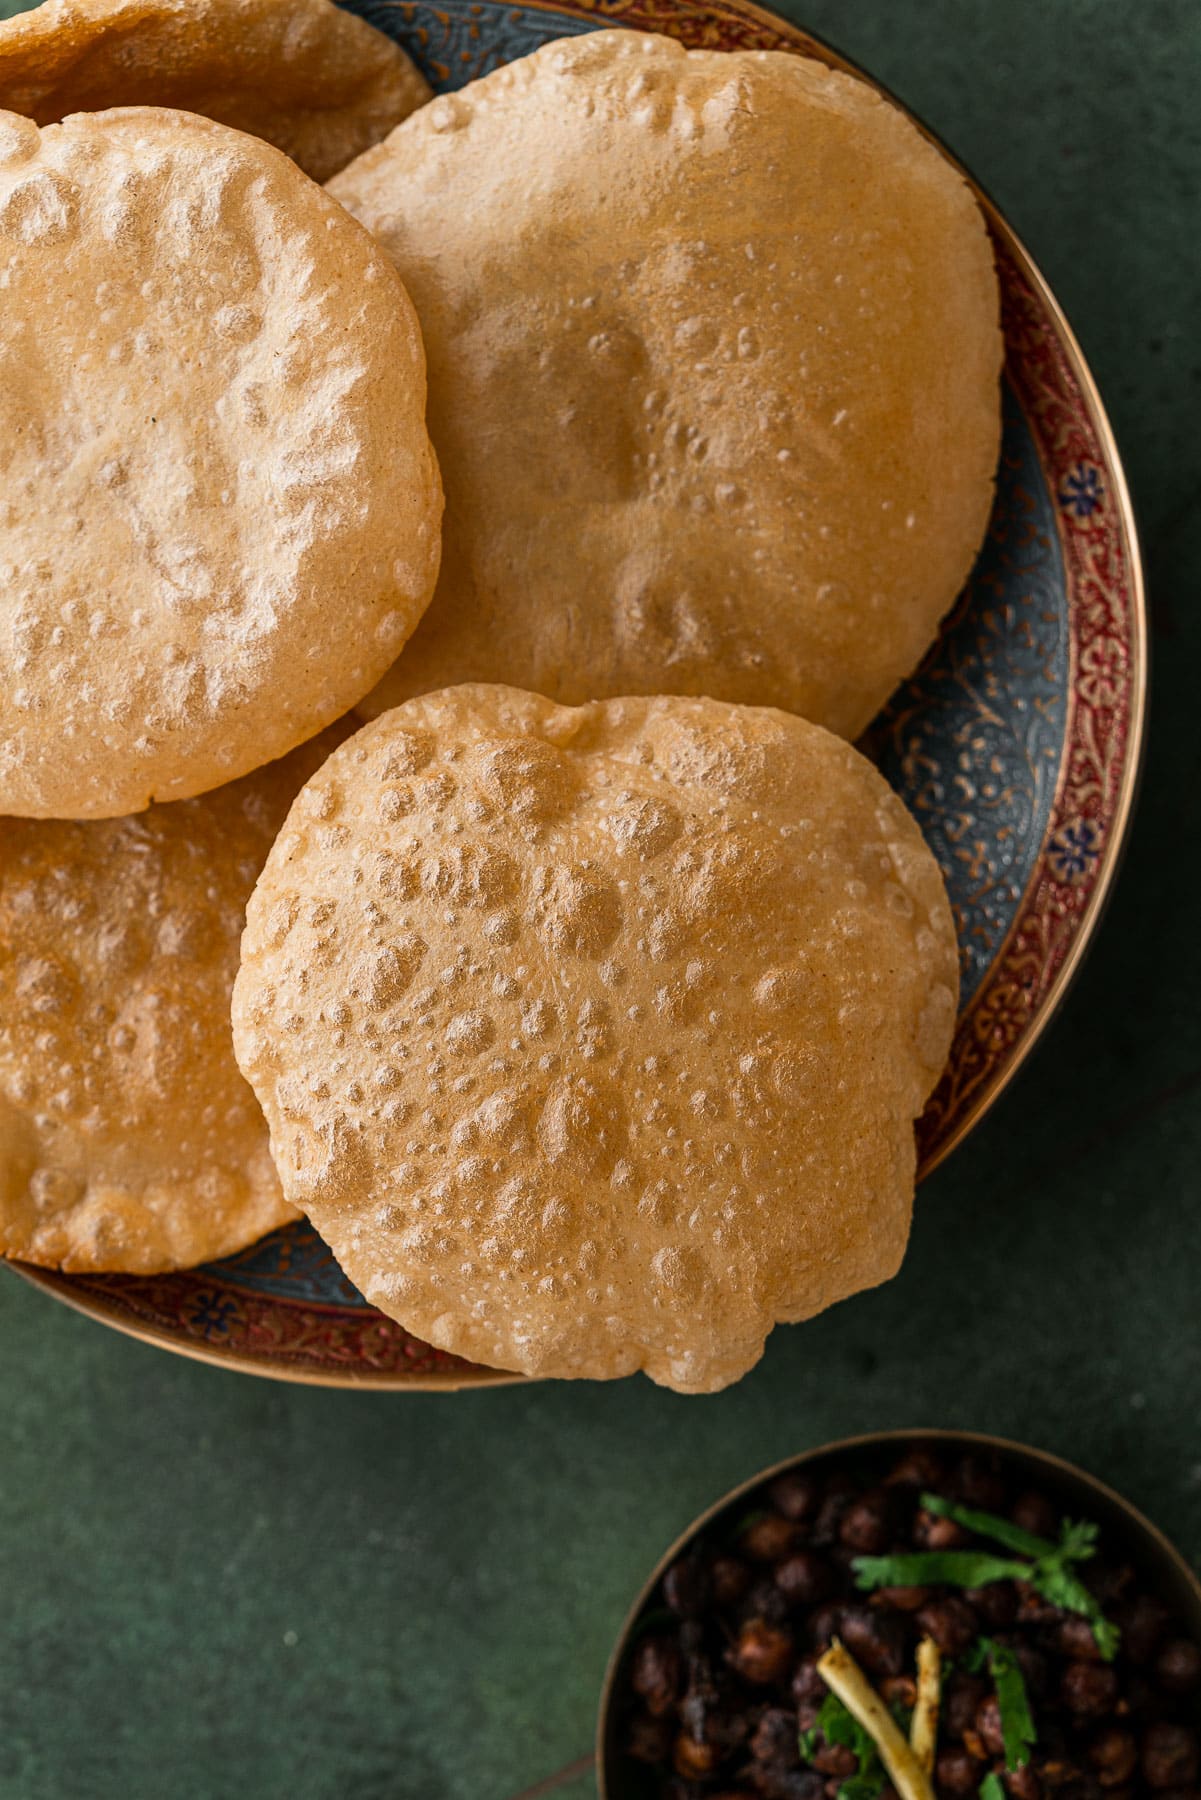
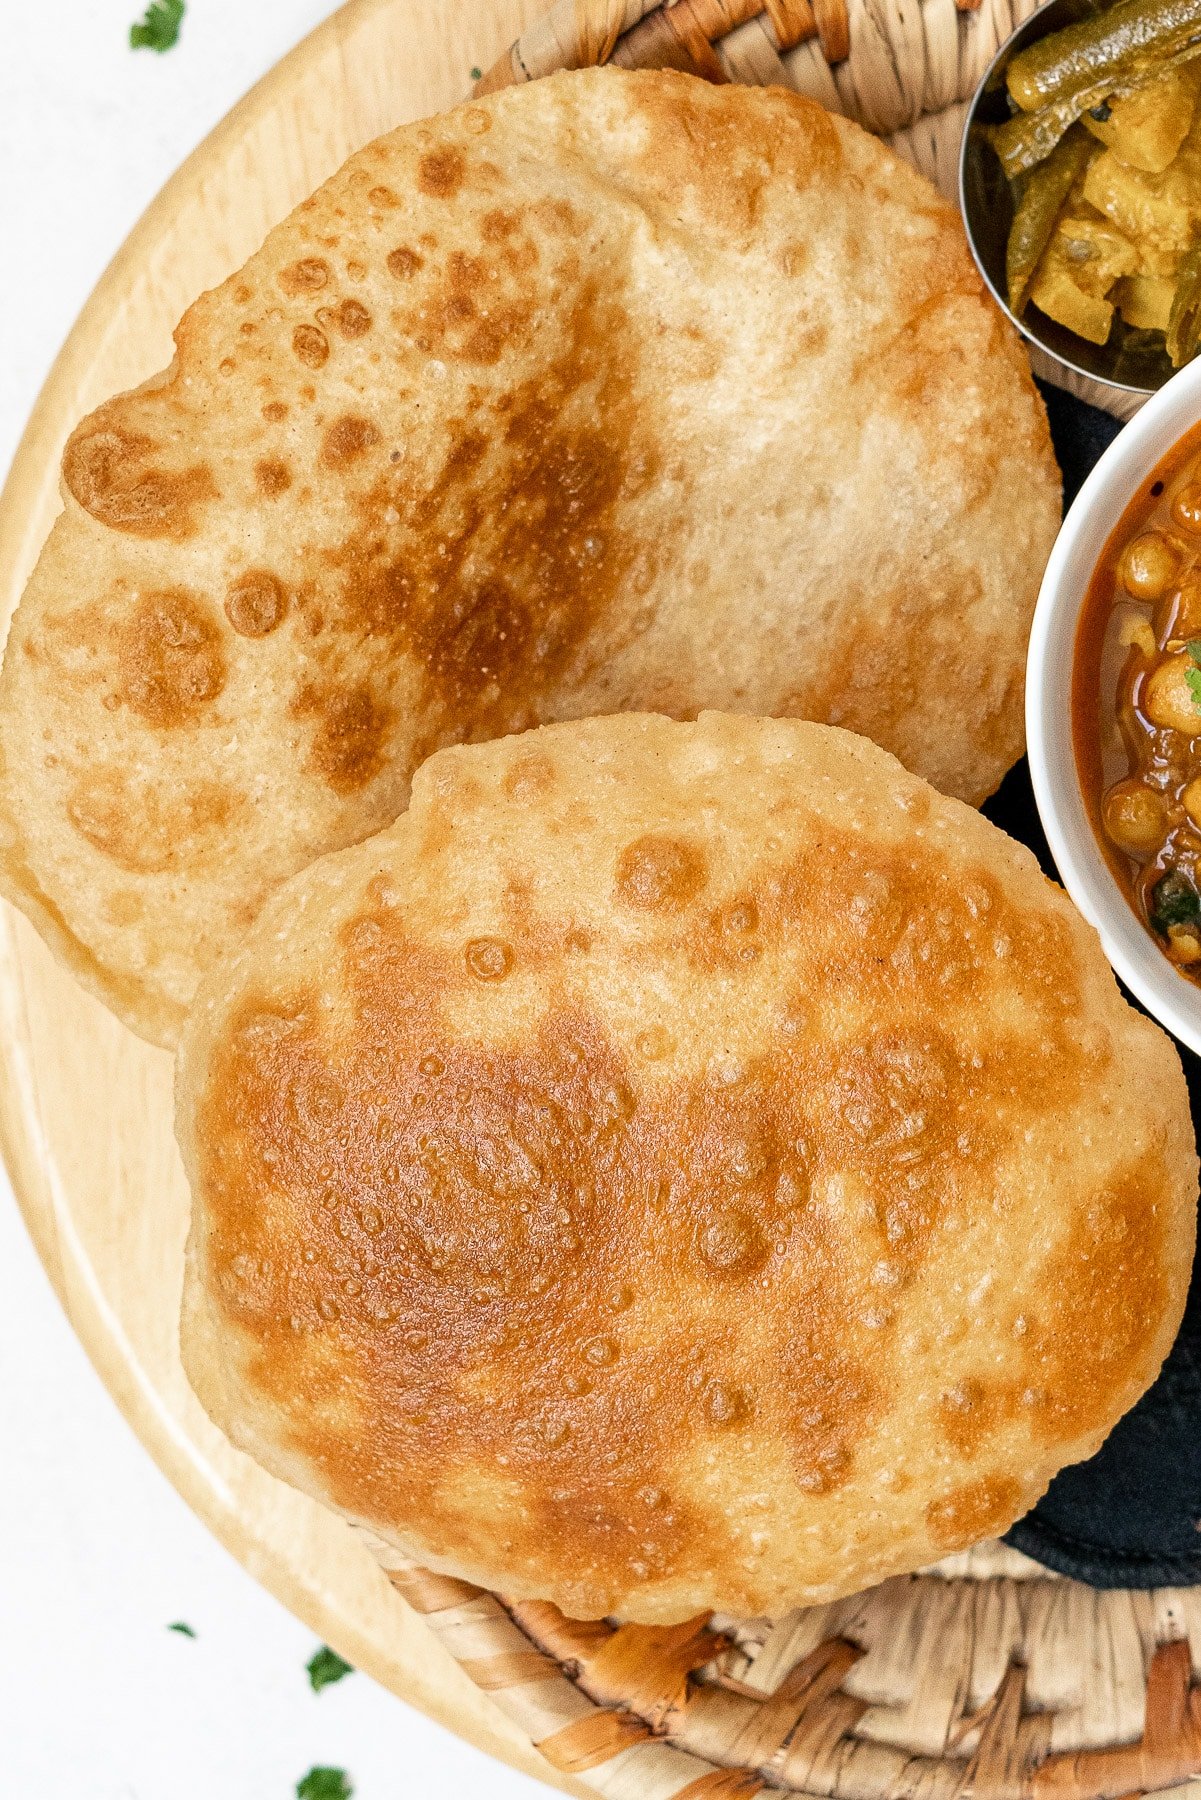
Puffy, fluffy Puri will soon be the least intimidating deep-fried Indian bread that you can make with this detailed step-by-step guide. With just one ingredient and no leavening, you'll have perfectly puffed puri ready for breakfast, dinner, or as prasad after prayers.
As someone who grew up eating roti on almost a daily basis, puris were a welcome break from monotonous meals of roti with sabji and dal. Puris always made an appearance with heartier curries, when friends or family came over, or during Hindu festivals and ceremonies.
I was happily my mom's little helper - getting out the ingredients for the dough, watching her roll out perfect circles while I fried the puris. I remember the slight panic and asking her if they were done or not before I gained more confidence in watching for the telltale signs of doneness.
Now that I live on my own, I wanted to learn how to make them myself for Navratri. It's surprisingly easier to pick up on than I thought, and I got it right on the first try! I'm sharing all my tips and tricks I've picked up over decades of making this recipe.
Jump to:
Why this Recipe?
This is a tried and true recipe! My mother has been making puri exactly like this for decades. Here's why I love this recipe:
- It only requires one ingredient, atta, with some water. The oil is optional. You can also add salt, ajwain seeds, cumin seeds, fenugreek seeds, or chili flakes.
- It does not require leavening. Therefore, the rest time is only about 10 minutes and making the dough isn't too finnicky.
- I've gathered the tips and tricks for making puri after decades of being my mom's helper! You really can't go wrong with this recipe.
What is Puri?
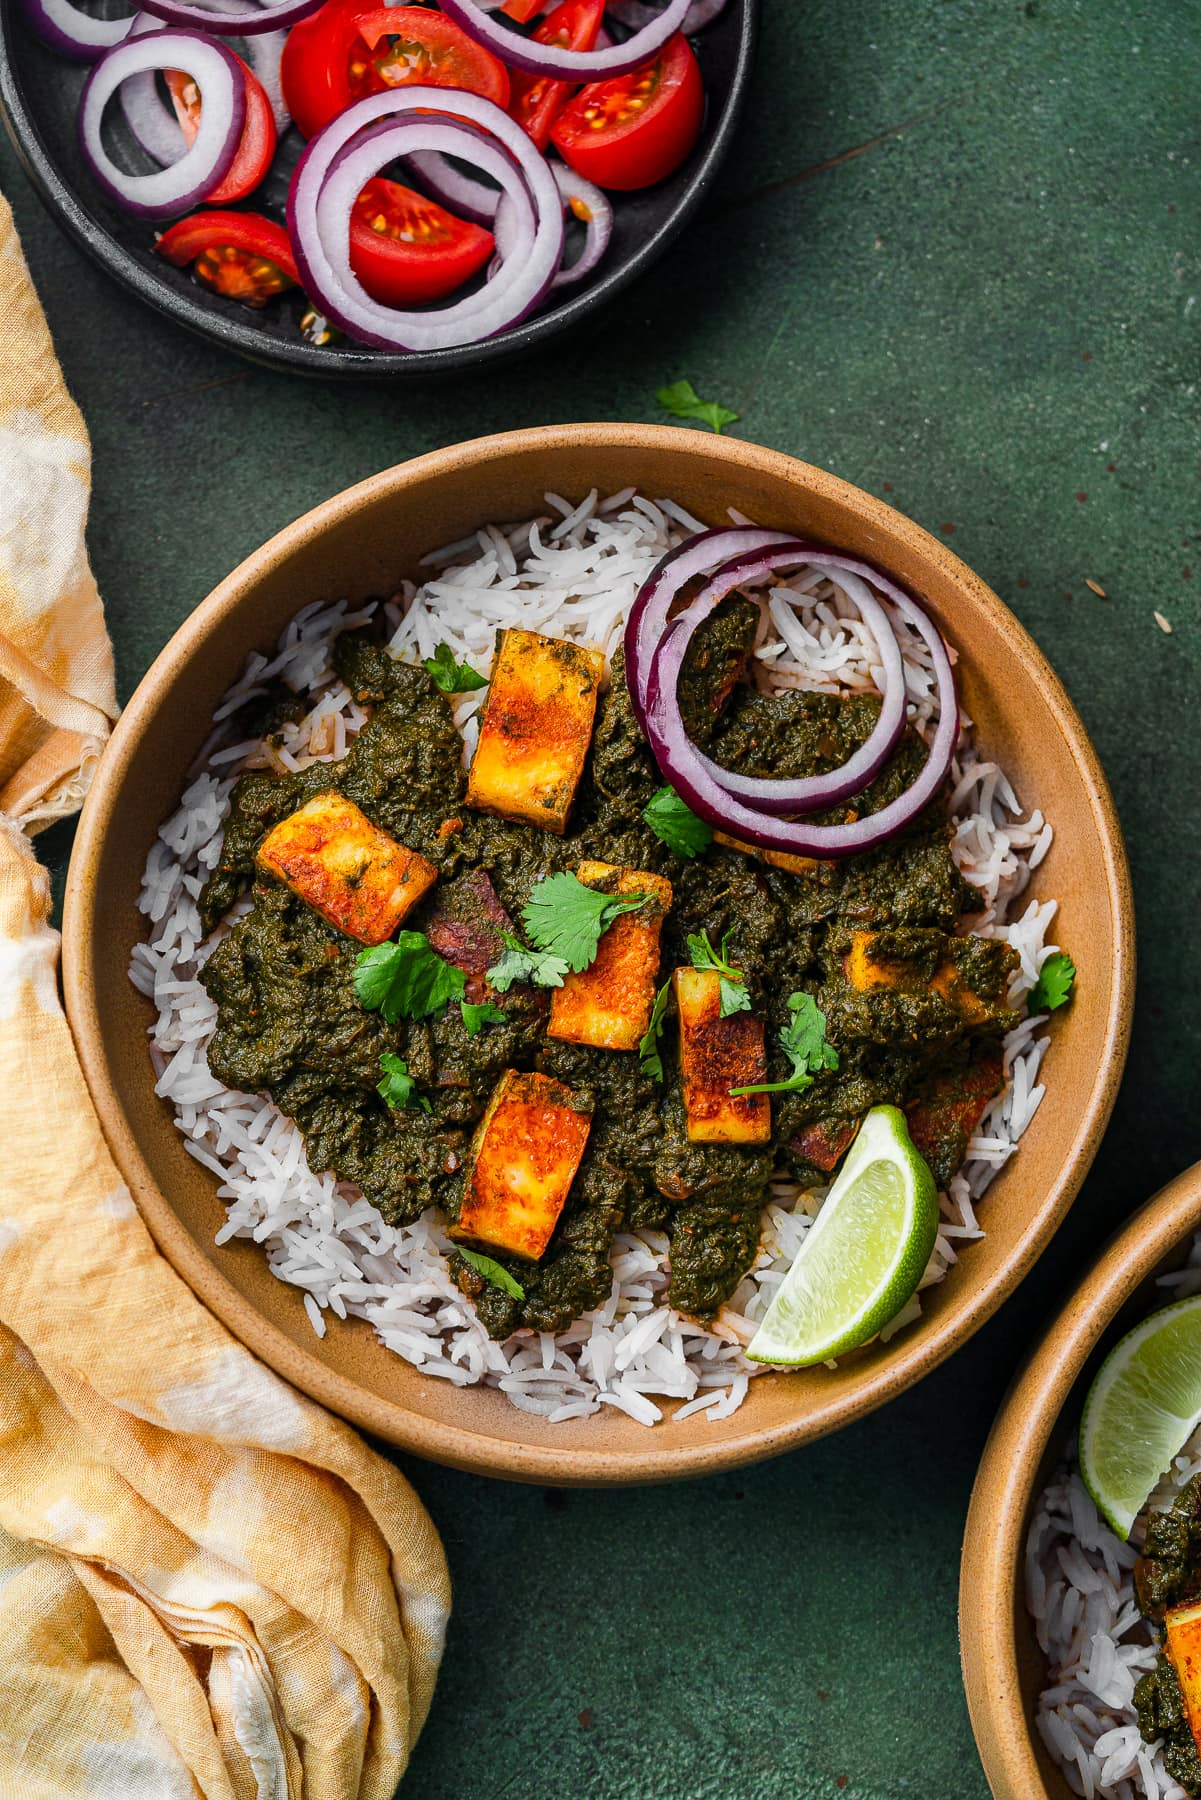
Puri, or poori, is an unleavened deep-fried Indian bread that is made from atta (whole wheat flour). The Puris expand as soon as it hits hot oil and the moisture turns into steam, resulting in a puffed circular bread. It's typically served for breakfast or as a bread to scoop up dals or curries like Chole for dinner. However, it's also served as prasad after Hindu prayers and celebrations.
It's especially famous with a potato-based curry, known as Aloo Puri. Another popular dish is puri served with semolina-based pudding, or Halwa Puri.
What is the difference between puri and bhatura?
The difference is that puri are smaller in size and made with whole wheat flour, whereas bhature are larger ovals and made with all-purpose flour. Bhature also requires a leavening ingredient and curd whereas puri are made without any fermentation or leavening.
Bhature have a thicker, fluffier texture while puris are a bit thinner and crispy. They are both deep-fried in oil and pair well with curries.
Ingredients - Notes and Substitutions
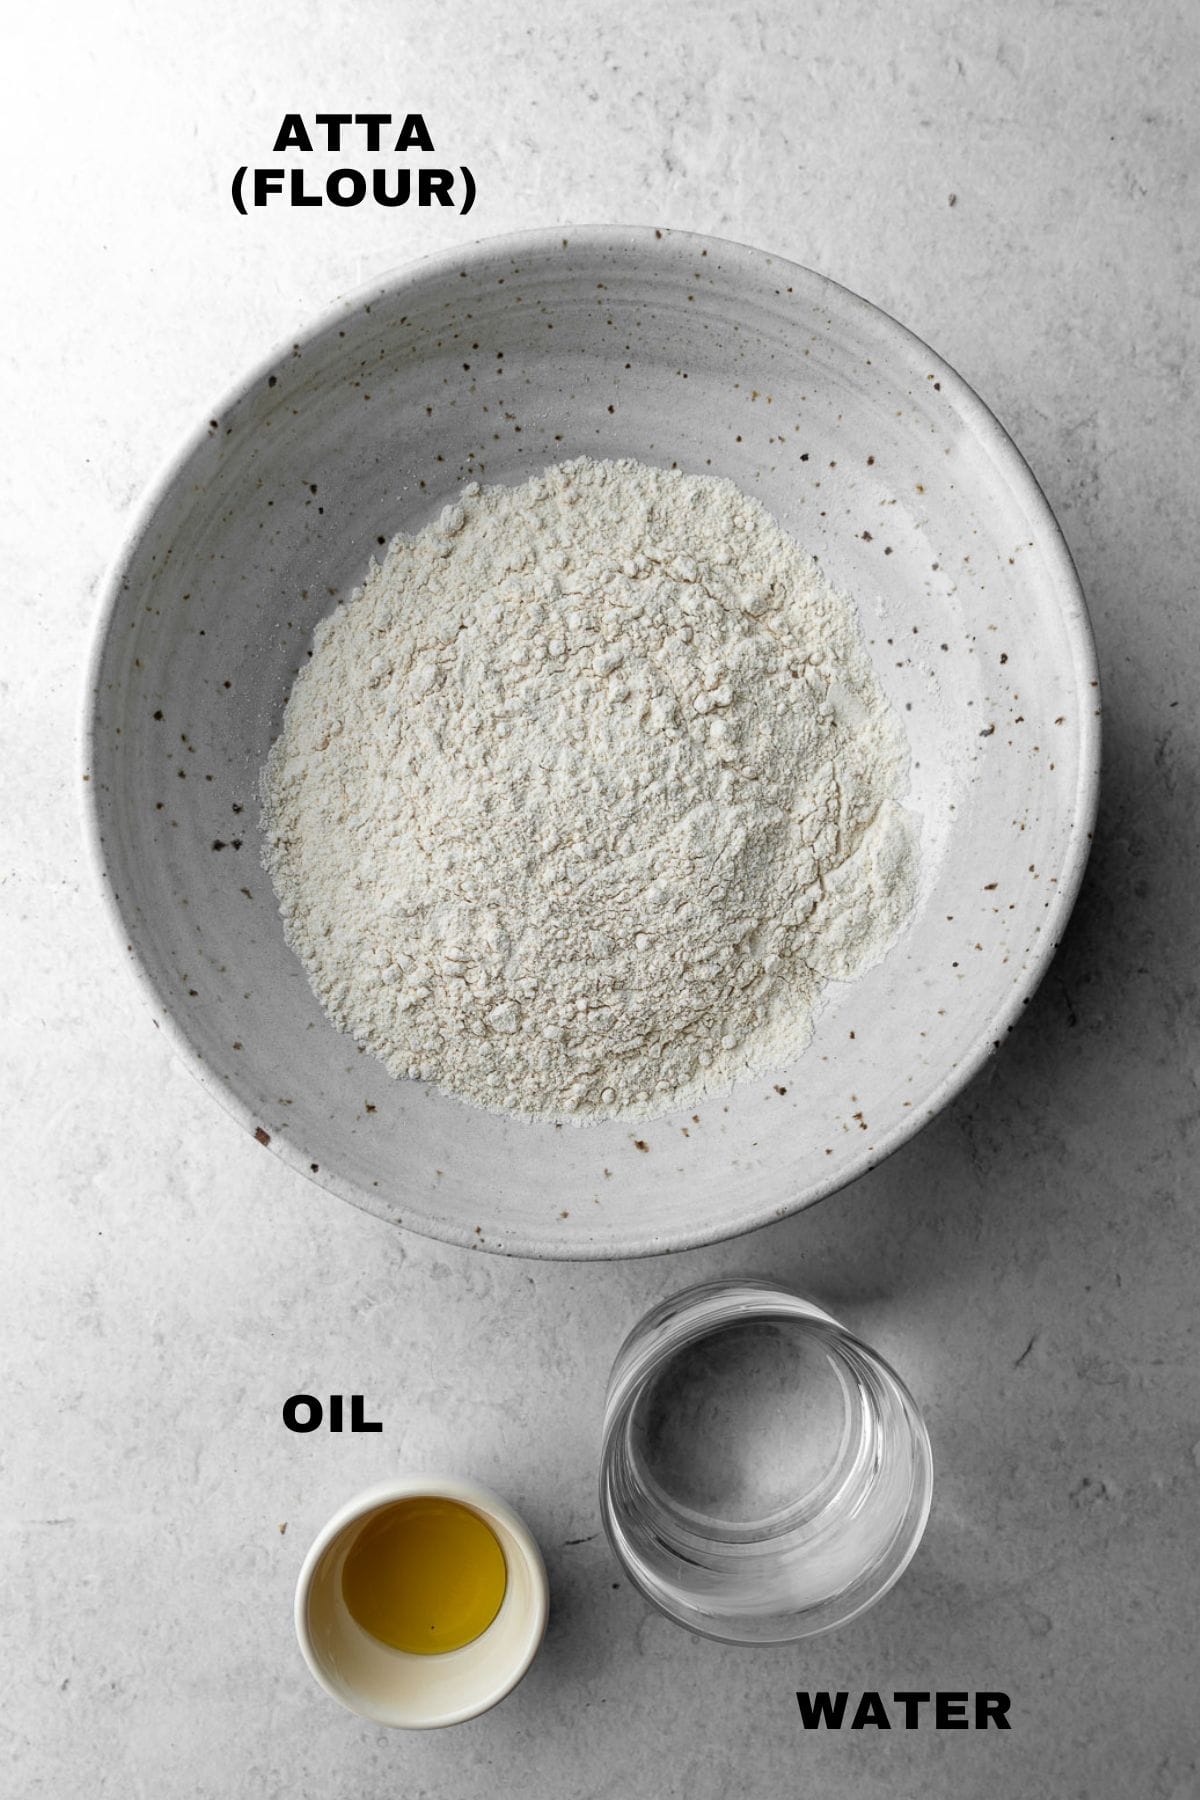
Atta - Or Chapati Flour, atta is a whole wheat flour used in the Indian subcontinent to make rotis/chapati, parathas, puri, etc. I have tried using all purpose flour for puris and parathas and the texture is simply not the same.
If you can find white whole wheat flour, that will be the closest substitute. You can readily purchase atta online, although it is extremely expensive on sites like Amazon. I recommend getting the flour at a desi specialty store.
Most brands require about 3 cups of flour to 1 cup of water to make dough.
Oil - You only need a small amount of oil for making the actual dough, although it is ultimately optional. I recommend vegetable oil or a similar neutral oil. I also use vegetable oil for frying the puris.
Other Variations
Puri can also be prepared with suji (semolina) instead of atta, or with 1 cup of atta and 2 tablespoons of suji. The semolina can be soaked in warm water to make a dough. Using semolina results in a crispier puri that holds it shape for longer periods.
You can also make puri with ajwain seeds, cumin seeds, fenugreek seeds, salt, chili flakes, or spinach added to the dough.
How to make Puri Dough and Fry the Them
1. How to make Puri Dough
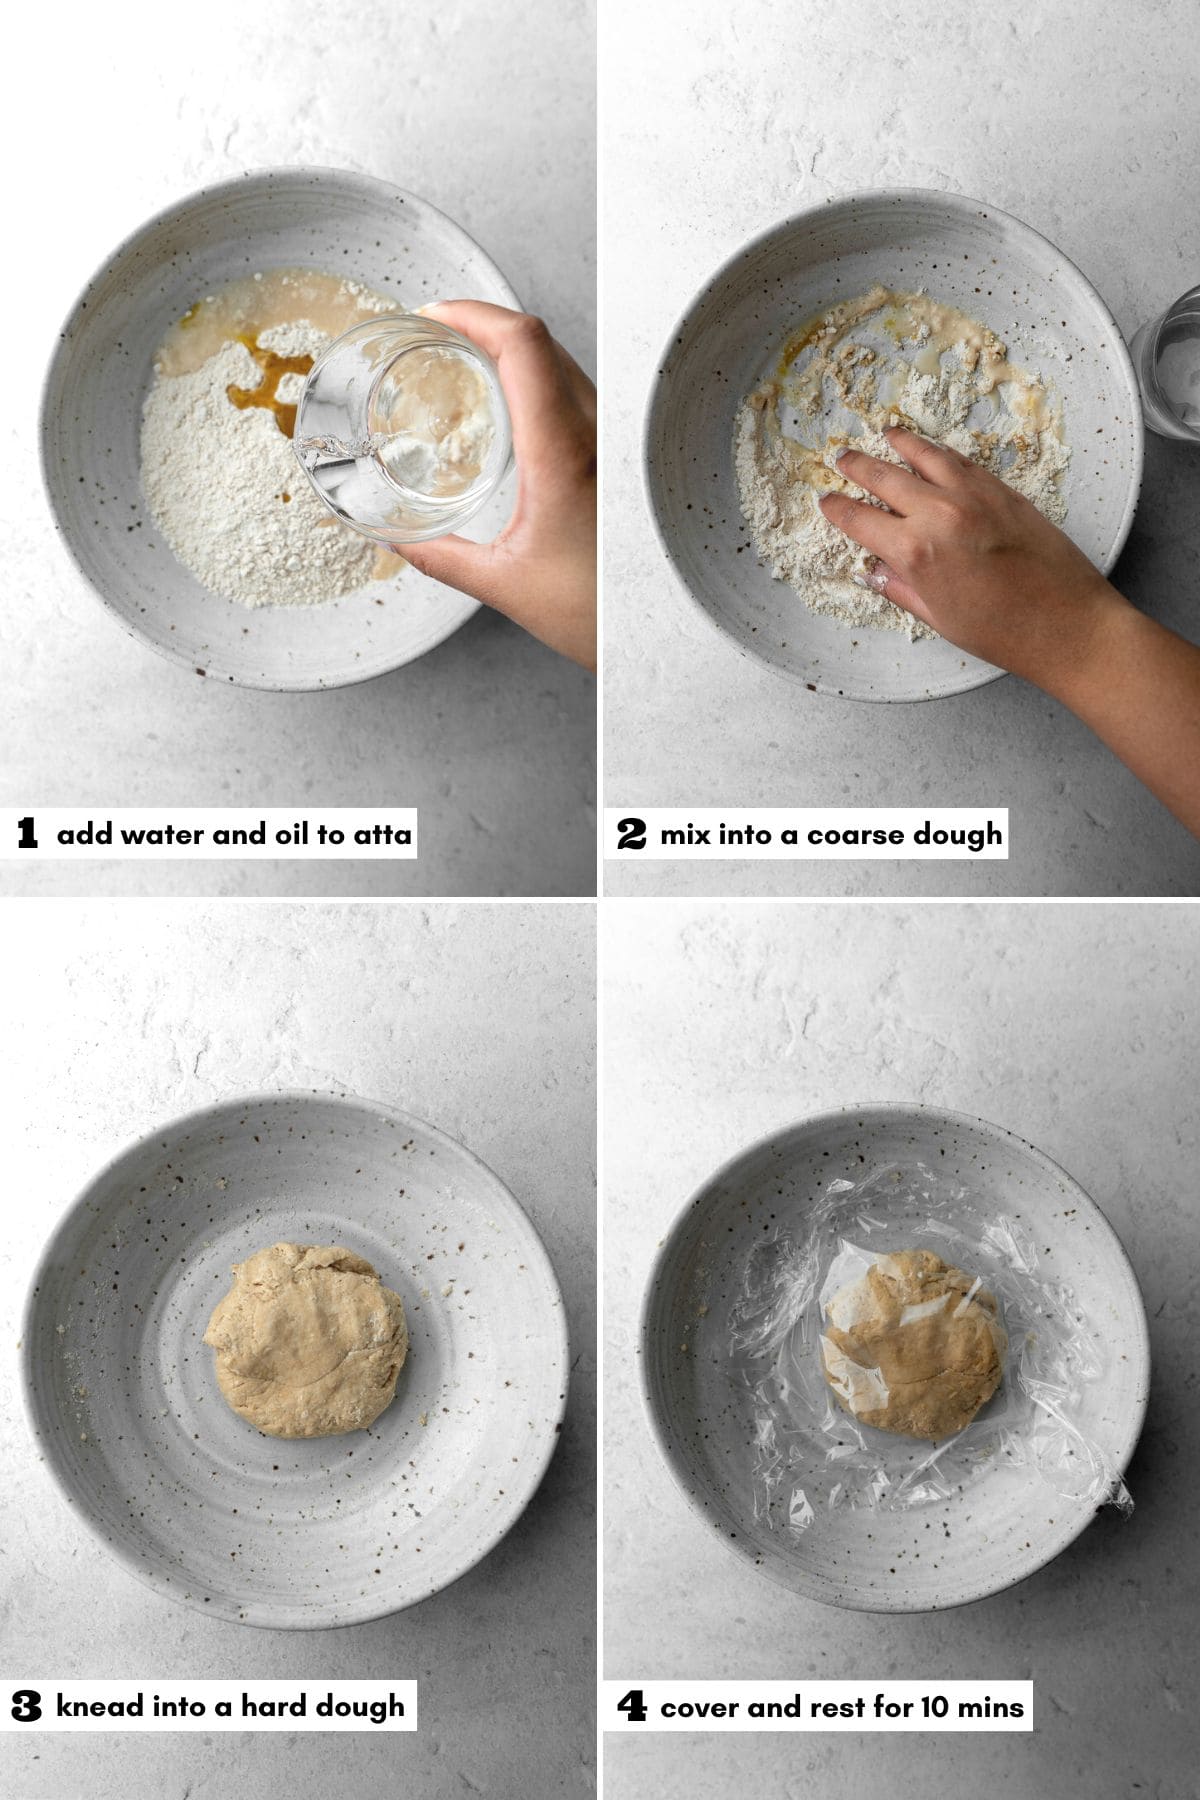
Start making the dough by adding the oil and a bit of water into a mixing bowl with the atta. Mix the liquids with the flour with your fingers until you get a coarse dough.
Slowly start adding water into the flour while kneading the dough. We're looking for a dough that comes together, which is about ¼ to ⅓ cup of water per cup of flour. If the dough is sticky, it has too much water.
Knead the dough for a few minutes, or until it's elastic but the dough is hard, it shouldn't have so much water that it's on the softer side. The dough will look really rough and won't be completely smooth.
Brush a bit of neutral oil on the dough to keep it moist, then cover it with plastic wrap or a kitchen towel. Rest the dough for a minimum of 10 minutes, and no more than 20 minutes. After the rest time, knead the dough again for a few minutes until it's smooth.
2. How to Roll out Puris
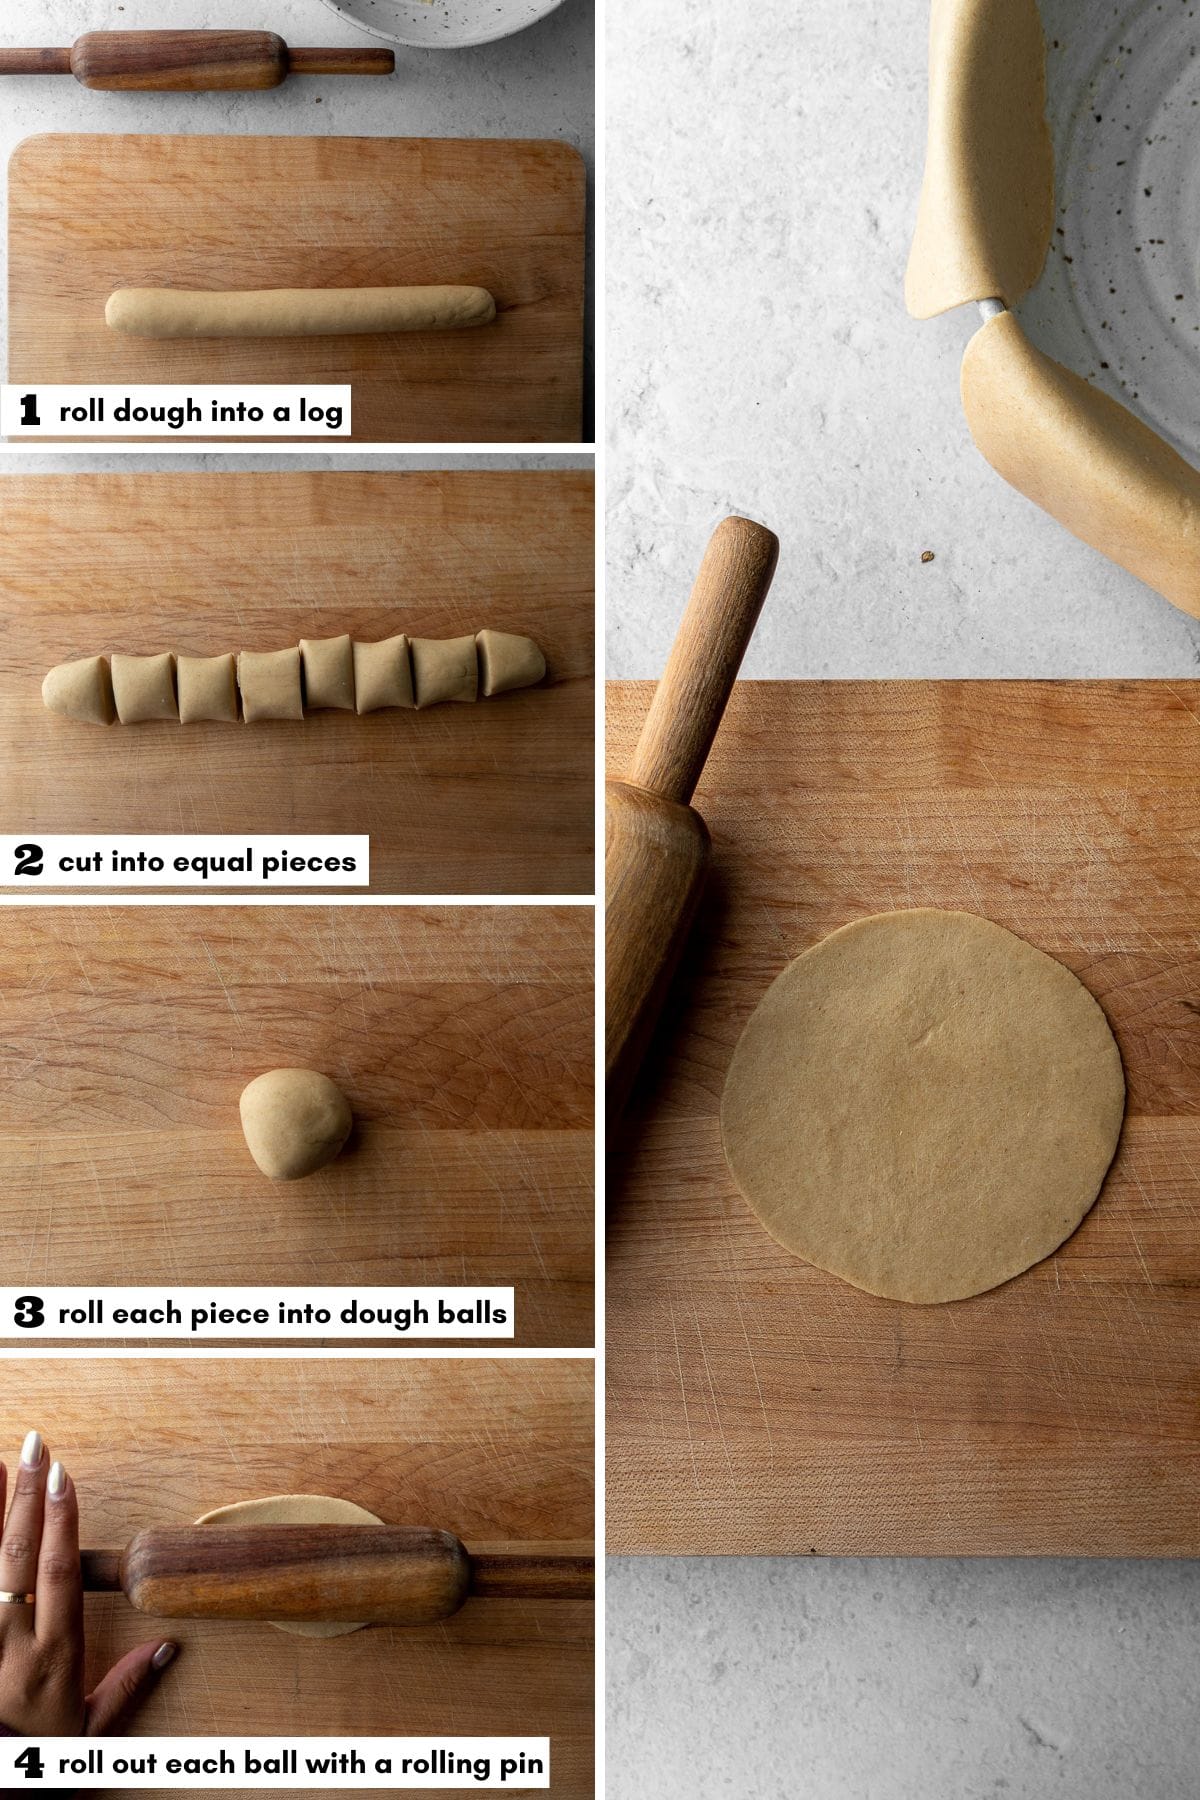
Once you have a smooth ball of dough, roll it out into an even log. Use a knife to cut the dough into 8 equal pieces to make 8 puris.
Note: This is a good point to start heating the oil to fry the puris.
Roll each piece of dough into balls. At this point, I like to use a tortilla press to get perfect, flat circles for the puris. Otherwise, use a rolling pin or a belan to roll out the dough into thin circles that are about 3-4" in diameter.
Roll it back and forth a few times with a rolling pin, and then rotates it 90 degrees every few rolls to create the perfect circle. You're looking to get it fairly thin without being able to see through the dough.
Roll out each puri and let them hang off the bowl without touching each other. If you're a little more skilled, you'll be able to roll them out and fry at the same time.
3. How to Fry Puris
This is probably the hardest part! Getting the perfect puri that puffs up and doesn't harden is not easy. The first one is usually a dud, but an edible dud.
Pro tip: You'll want to make sure the oil is evenly heated so if you think the oil is ready for frying, wait just a couple of more minutes for it to be really ready. The oil will start to shimmer when it's hot.
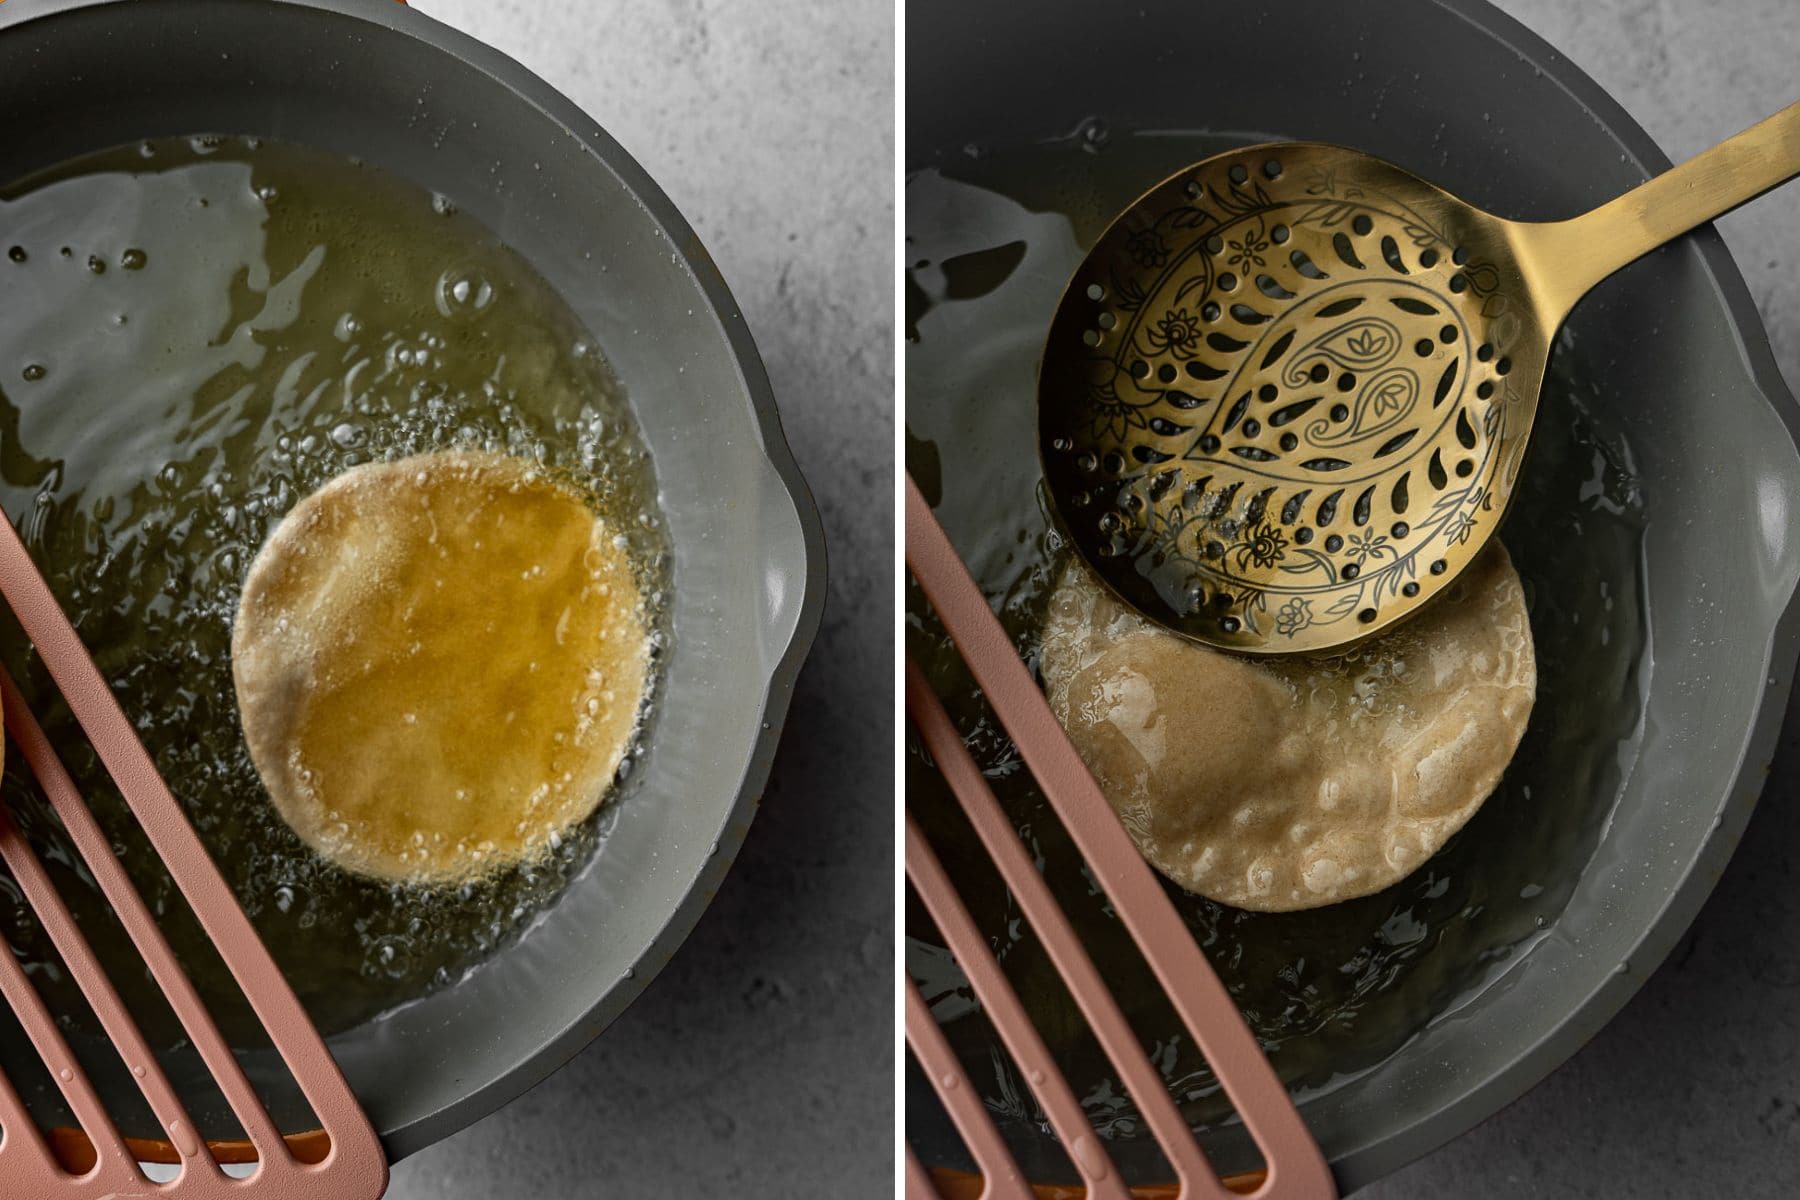
Carefully slip the puri in via the side of the pot. Use a slotted spoon to gently hold it under the oil for a few seconds, making small circles to ensure the puri stays under the oil. It should slowly start to resist the slotted spoon and begin puffing up on one side.
Continue to gently press down on the side that hasn't quite puffed, so that the steam is forced to spread in the puri.
Pro Tip: Notice how the oil is bubbling vigorously while this happens! It'll be ready to flip over to the other side when the bubbles are gentler and the puri is golden brown.
Flip the puri on to the other side. Continue to gently hold the puri down into the oil so the bottom half is completely submerged in the oil. Monitor the bubbles again to know when it's done.
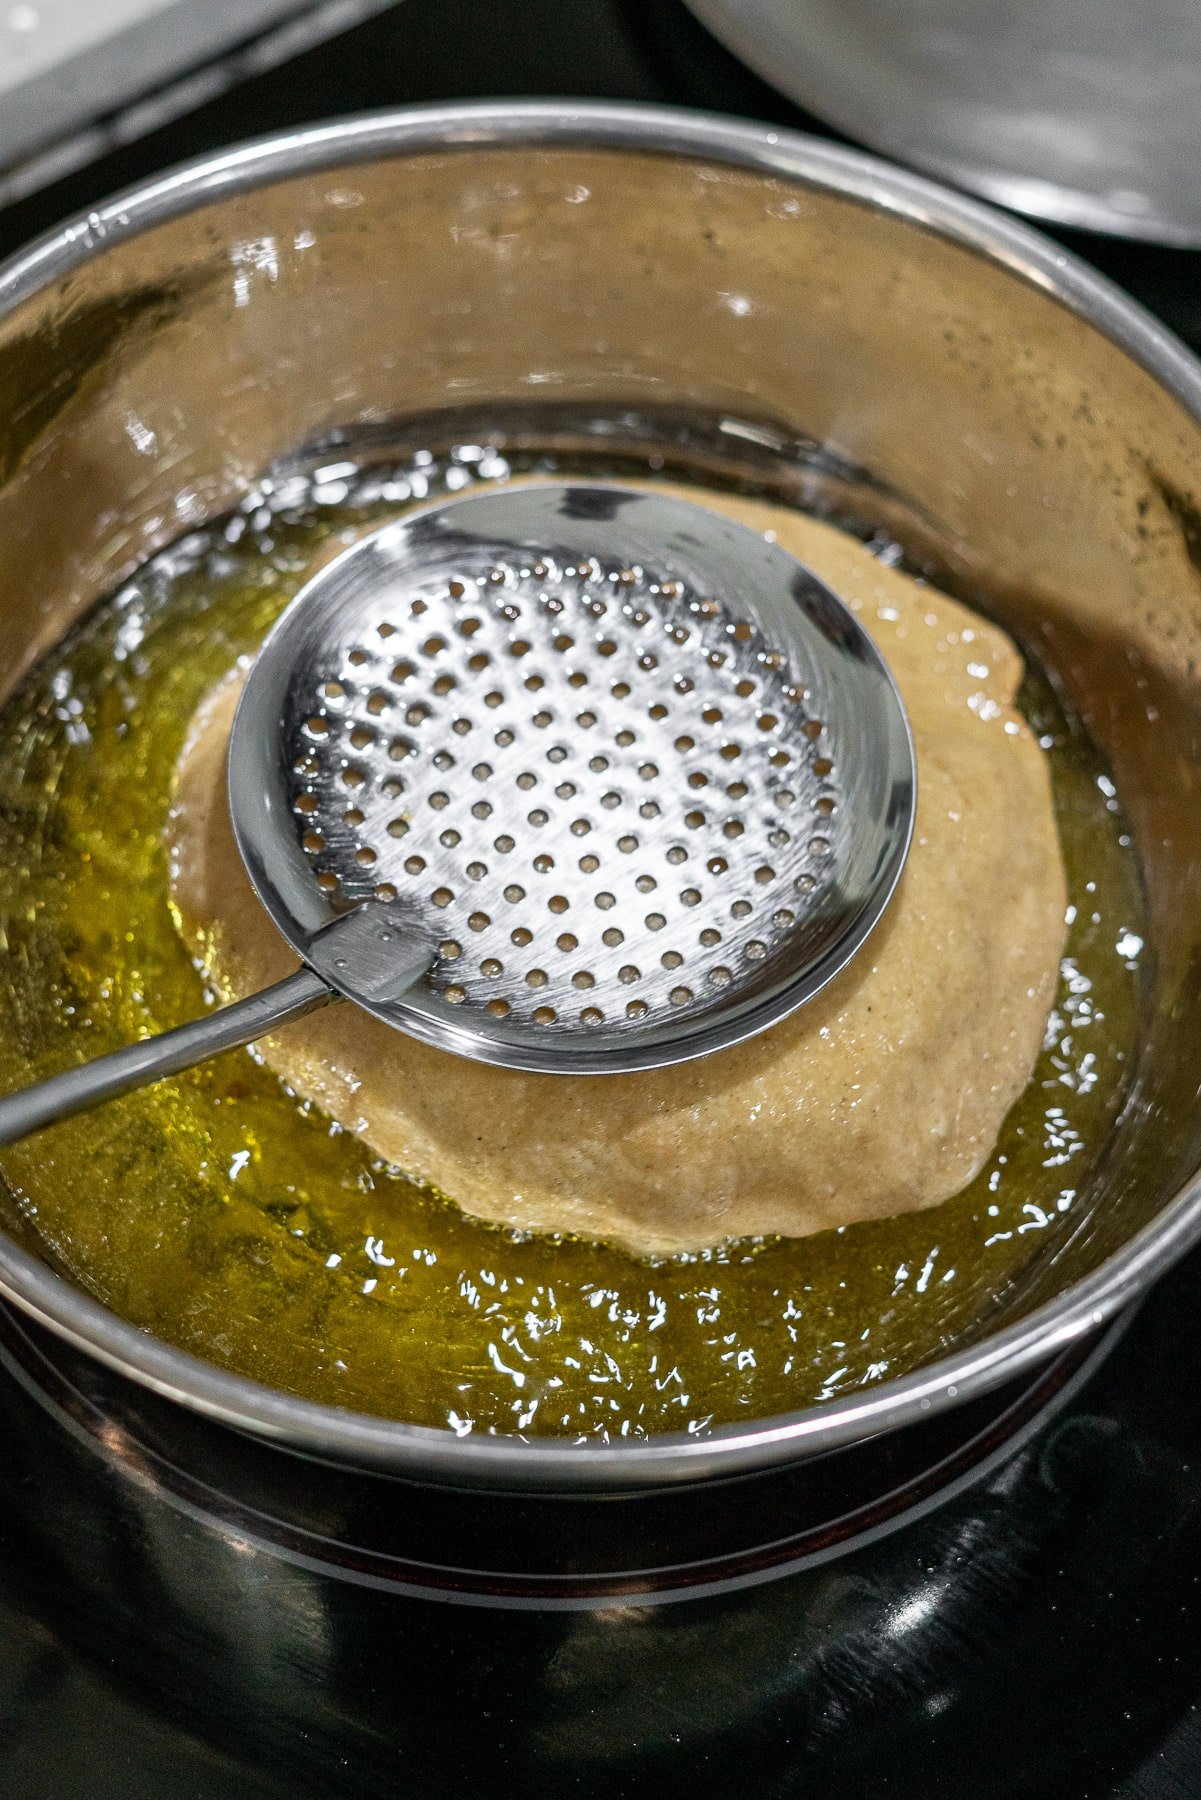
Carefully remove the puri from the oil, holding it against the side of the pot to let the excess oil drip off.
Place it on the plate with a paper towel to drain off excess oil.
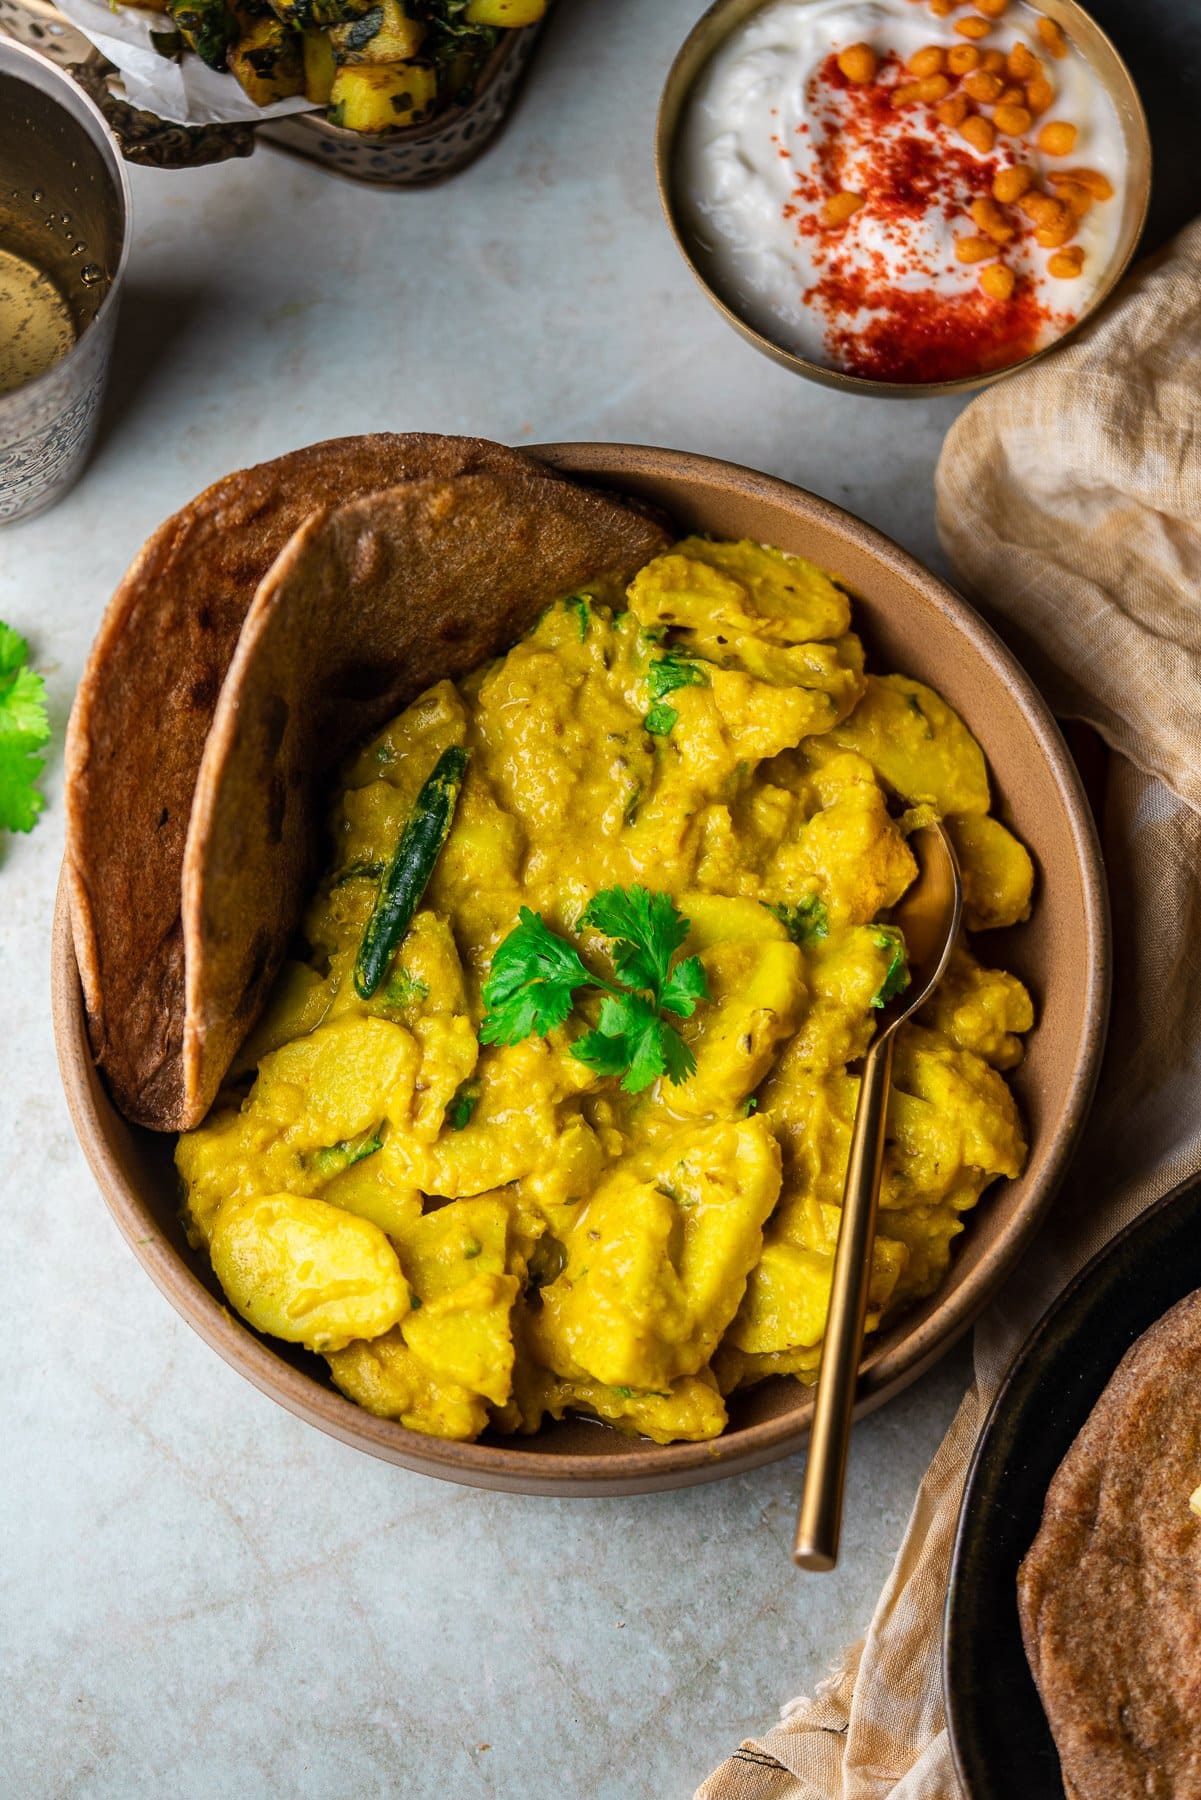
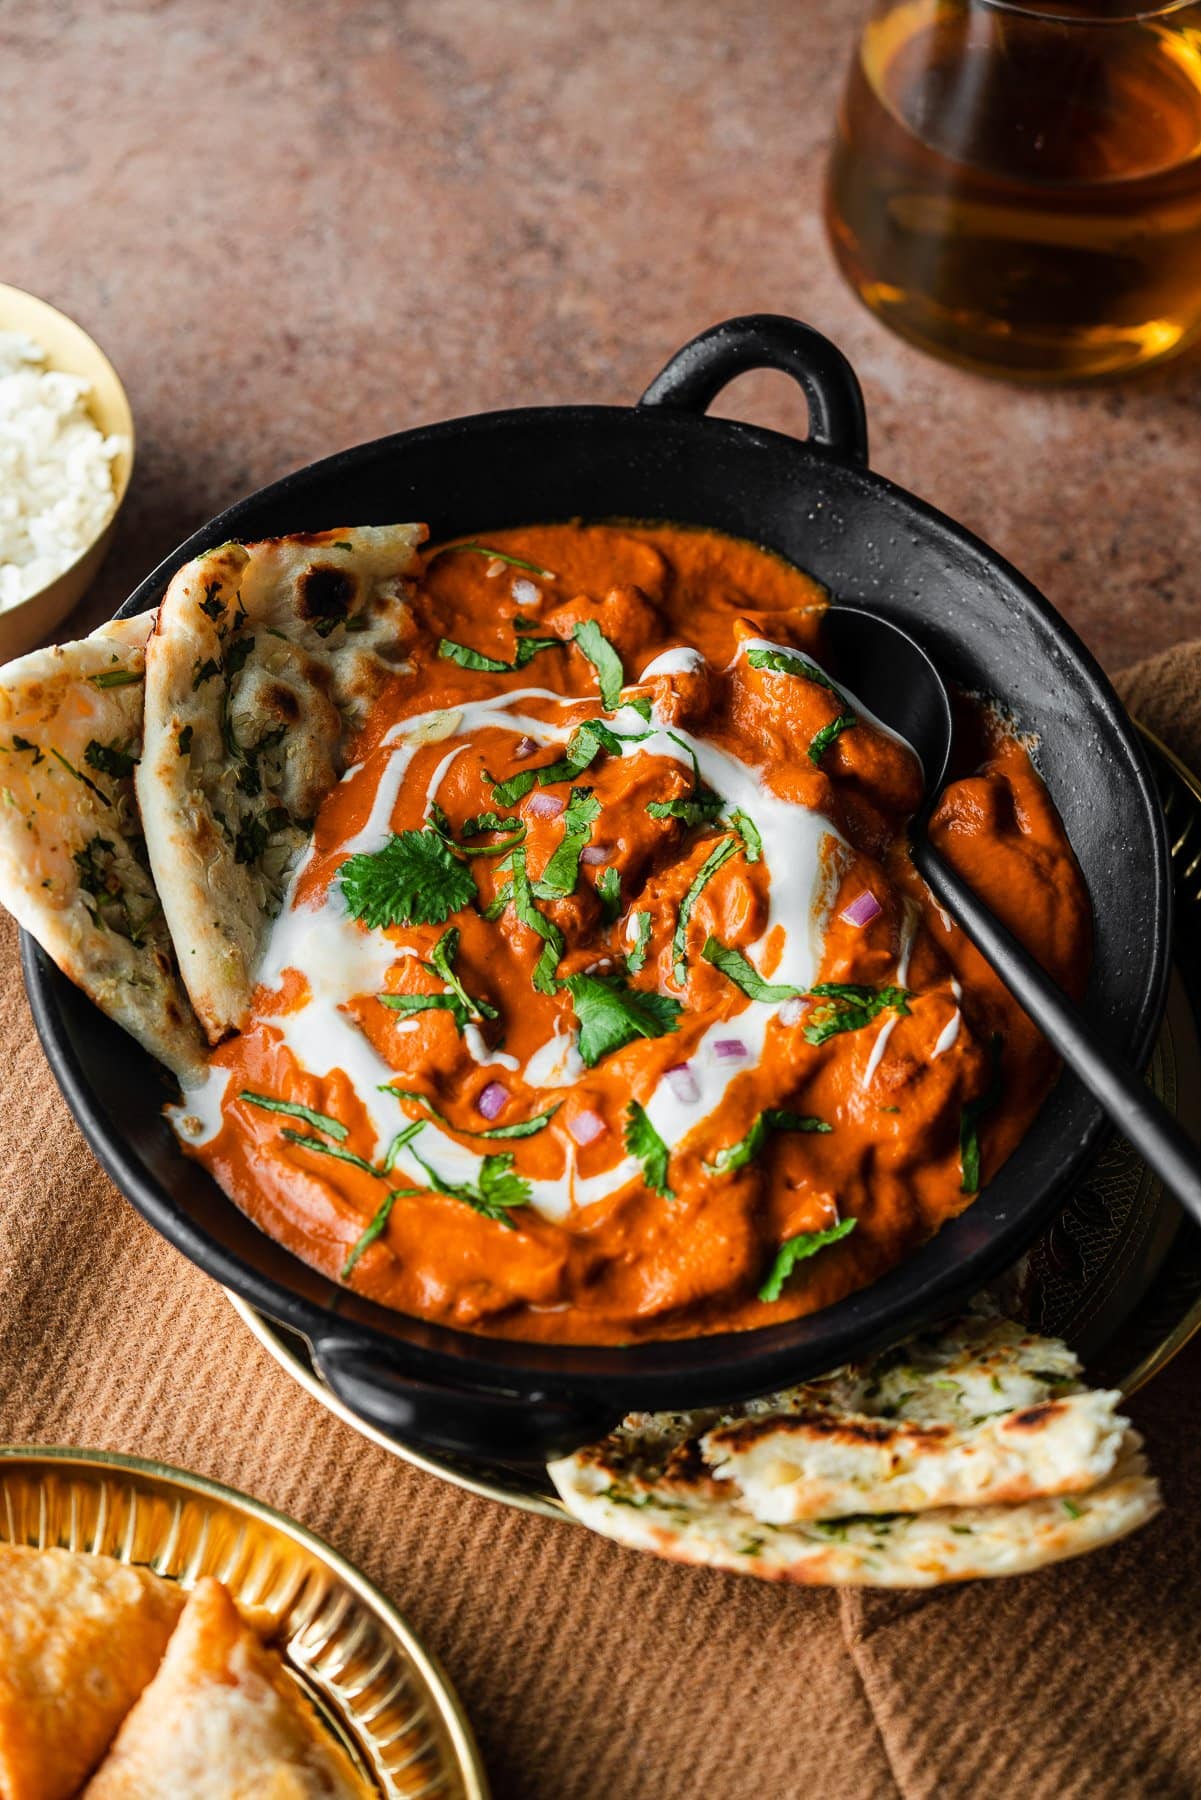
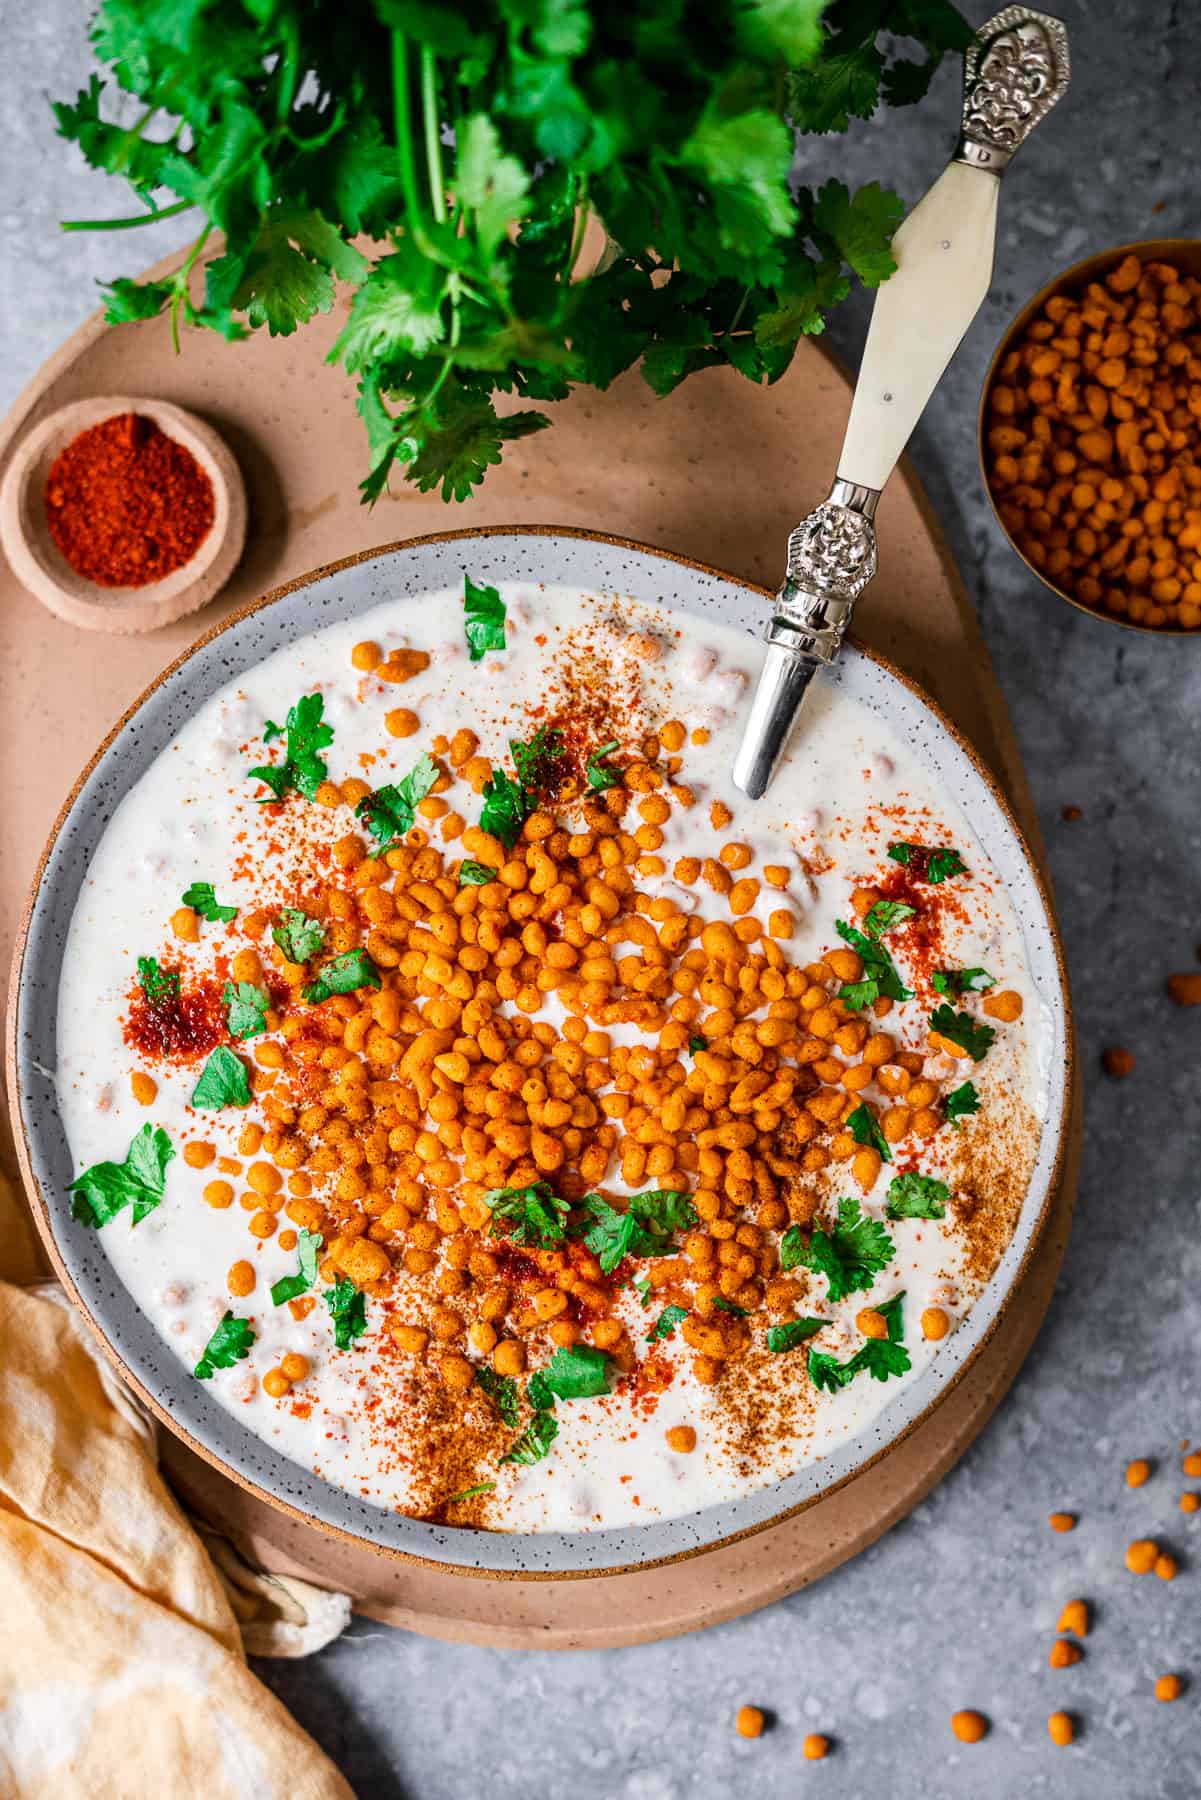
What to Serve Puri With
Halwa Puri is an absolute classic dish, where puri is served with Suji ka Halwa and a chickpea-based dish like Chole or Kala Chana. This is typically served during Navratri.
It's also delicious with a sweet side of Rice Kheer.
Here are some other recipes that are great to scoop up with Puri:
Tips and Tricks
Making puris doesn't require much skill or technique, but it can be frustrating when frying! Sometimes it won't puff, or it'll turn out hard and crispy. Here are some tips to get it right!
Using all purpose flour. If you have to use all purpose flour, add a teaspoon of baking powder to one cup of flour. This will help ensure you have fluffy puffy puri instead of hard, crispy bread.
The quality of dough. It's important to get the right texture on your dough. You're looking for a tight, "hard" dough, just until it becomes elastic. It shouldn't be soft or sticky.
Hard and crispy puri. This can happen to the first few puris. Here are some ways to mitigate this.
- Don't roll the dough too thin. If it is too thin it won't puff but instead become hard and crispy.
- Wait until the oil is sufficiently hot before frying. If it's too low, the puri will soak up a lot of the oil. If it's too high, the puri will harden before it puffs. The first puri is usually imperfect. I like to test a small amount of dough to see if it bubbles and rises to the top of the oil, and then wait another few minutes before I begin frying.
- Press the puri with a splotted spoon so that it's fully immersed when placed in the oil. Continue to hold it gently under the surface with a slotted spoon and make small circular motions until it begins rising and puffing up so it gets even distribution of steam.
How to know when to flip. Monitor the little bubbles that come out when frying. When there's only a small amount of bubbles and the puri is golden brown, it's ready to flip to the other side. If it's bubbling vigorously, allow it to cook for a few more seconds.
Storage Instructions
Puri dough can be stored in an airtight container in the refrigerator for up to a week. It can also be frozen for up to six months. Thaw it in the refrigerator for a day before use.
Fried puri can be stored in a tortilla warmer for 2-3 hours. If unfinished, store the puris in a ziploc bag or an airtight container for up to 2-3 days. Check that the puris don't smell odd due to the oil.
More Indian Bread Recipes to try
Recipe
Want to Save This Recipe?
Thinking about making this recipe? Enter your email and I'll send it straight to your inbox to save for later. Plus, get new recipe inspiration from me every week!
By submitting this form, you consent to receive emails from Masala and Chai.

Puri (Indian Fried Bread)
Ingredients
- 1 cup atta, (chapati flour)
- 1 tablespoon vegetable oil
- ¼ cup water
- 1 cup neutral oil, for frying
Instructions
- Add the atta into a mixing bowl. Pour in the oil. Then, slowly add the water in while mixing everything together with your fingers until the flour is hydrated and you have a coarse dough.
- Knead the flour together until it forms a rough ball of dough. The dough should be hard when you push a finger into it. Lightly brush some oil on top of the dough and cover it with cling wrap or a kitchen towel. Let it rest for 10 minutes.
- After resting, knead the dough again into a smooth ball. Roll the dough out into a log. Cut the log into 8 equal-sized pieces. Roll each piece into a ball.
- Work with one dough ball at a time. Roll the dough out using a rolling pin into a circle as large and thin as possible without tearing it.
- In a deep wok or dutch oven for frying, heat neutral oil for deep frying. It'll start to shimmer once it's hot and ready for frying.
- Carefully transfer the rolled out dough to the oil, slipping it in from the edge of the wok and into the oil. With a slotted spoon, gently hold the dough under the oil until it begins to puff. Fry until golden, about 1 minute total, and flip on the other side.
- Gently push the puri under the oil again for about 10 seconds and then fry until golden brown, about a minute.
- Transfer the puri to a plate lined with paper towels to drain excess oil. Repeat with the rest of the rolled out puri dough.
- Serve the puri immediately as they are freshly fried while they're puffy and hot.
Anonymous says